Sometimes you want your Lego minifigure to have a more natural, casual appearance in its sitting pose. I developed a fun technique that makes it look as though the minifig is sitting with crossed legs. Take a look:

Ready to build your own? You’ll need the following pieces:
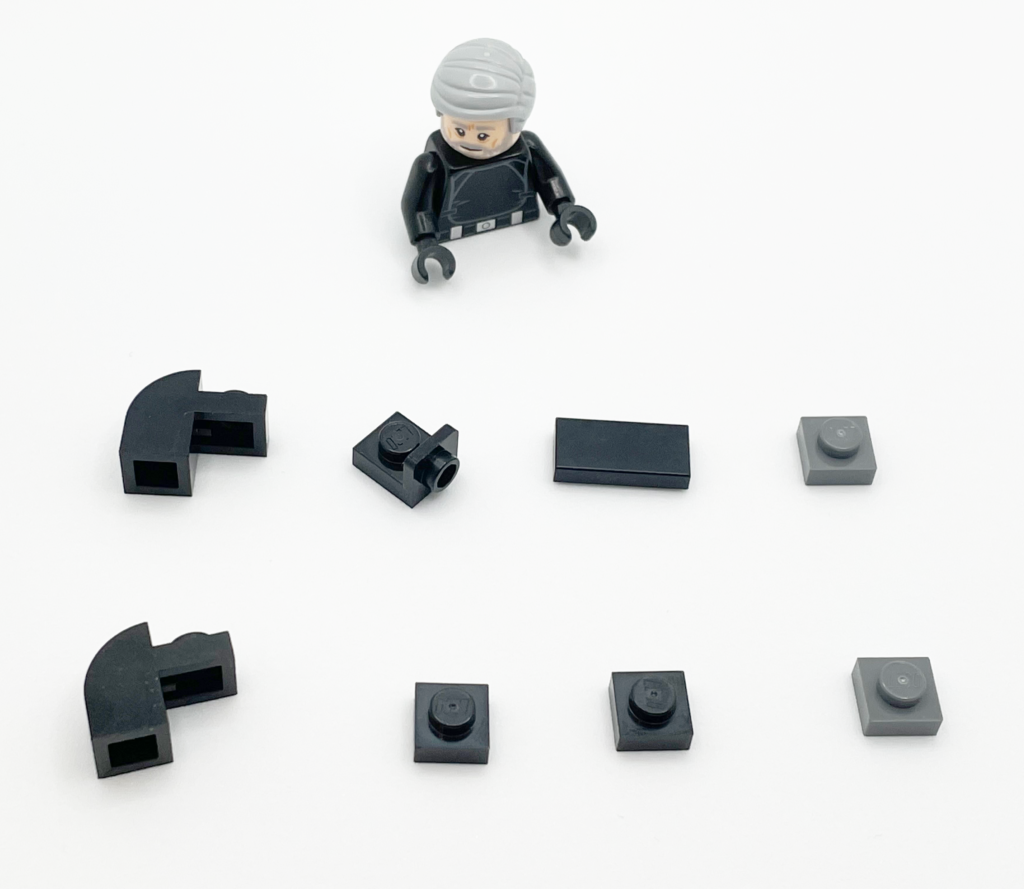
For the first step, start with these four pieces:
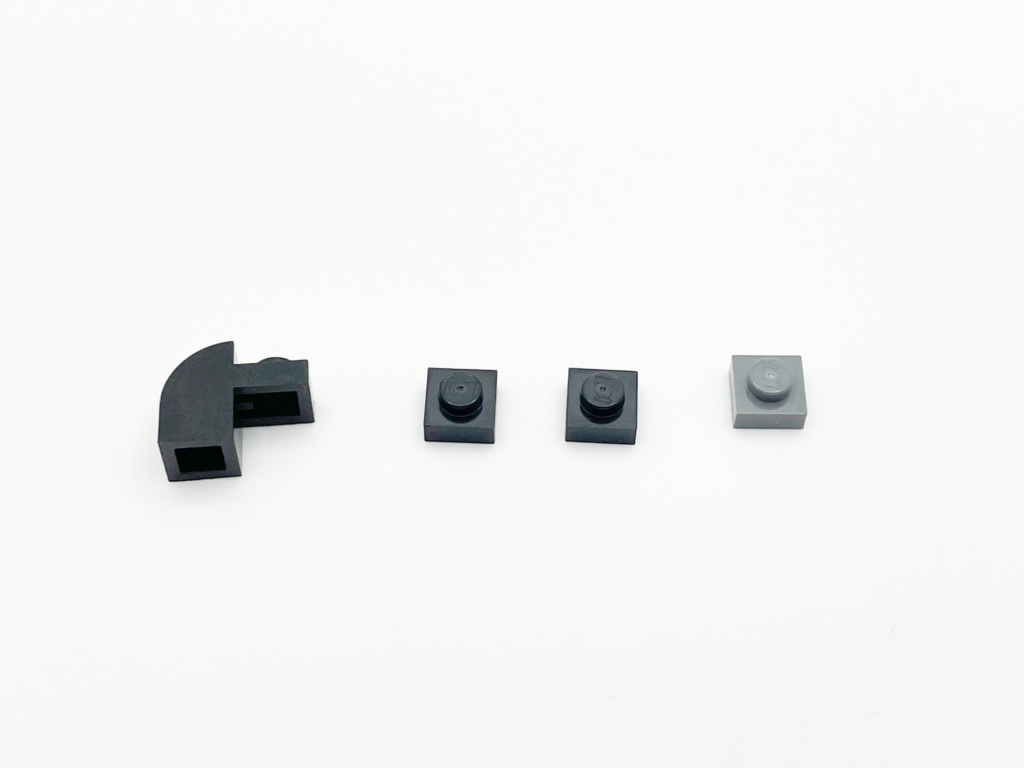
Take a 2×1 curved slope with a recessed stud:
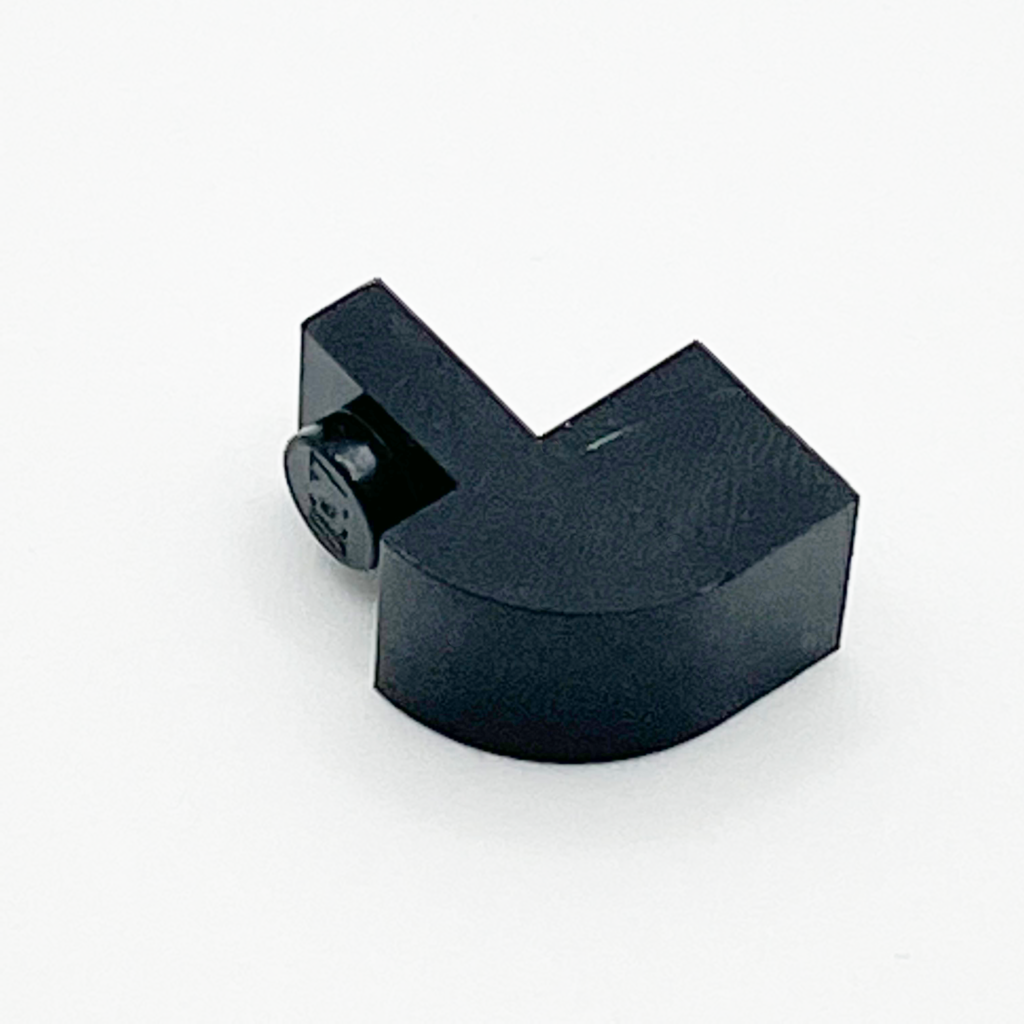
Then add a 1×1 plate on top of the recessed stud of the curved slope:
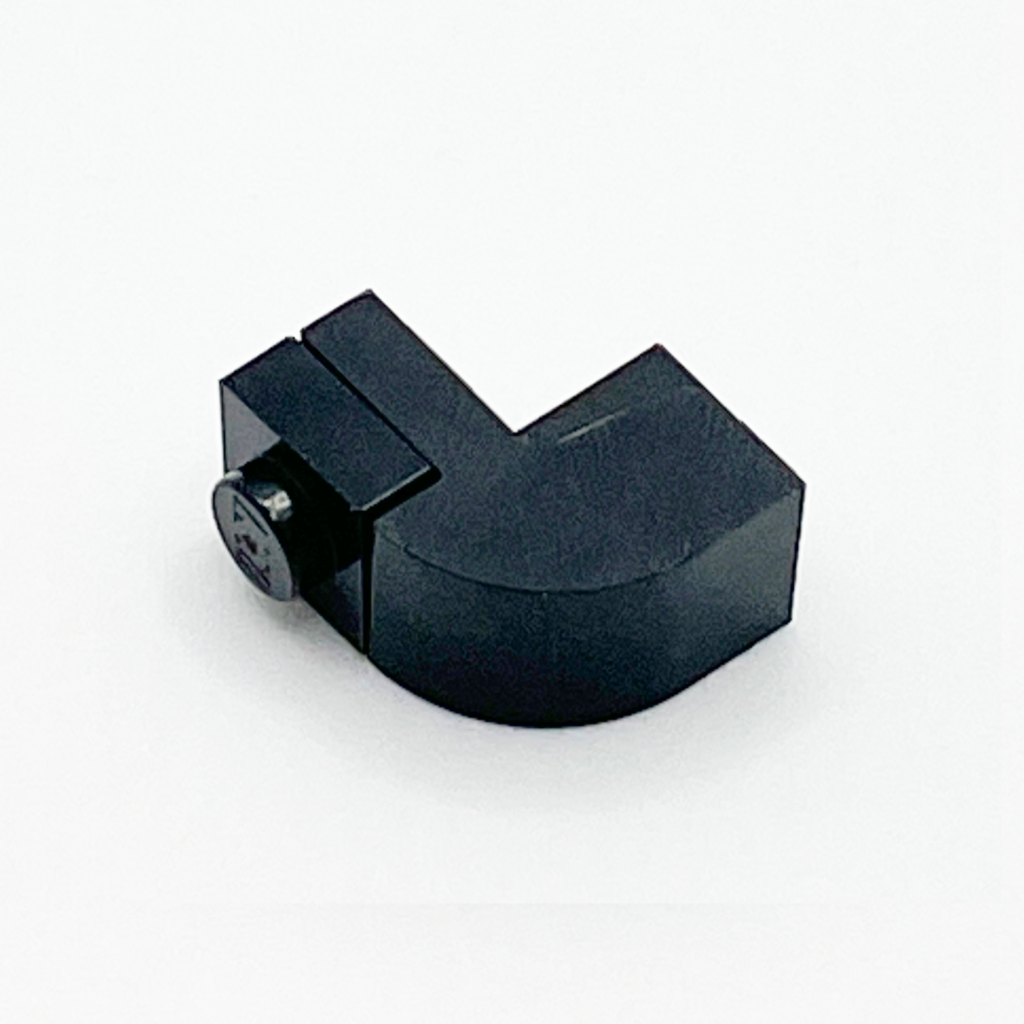
Add yet another 1×1 plate on top of the previous 1×1 plate:
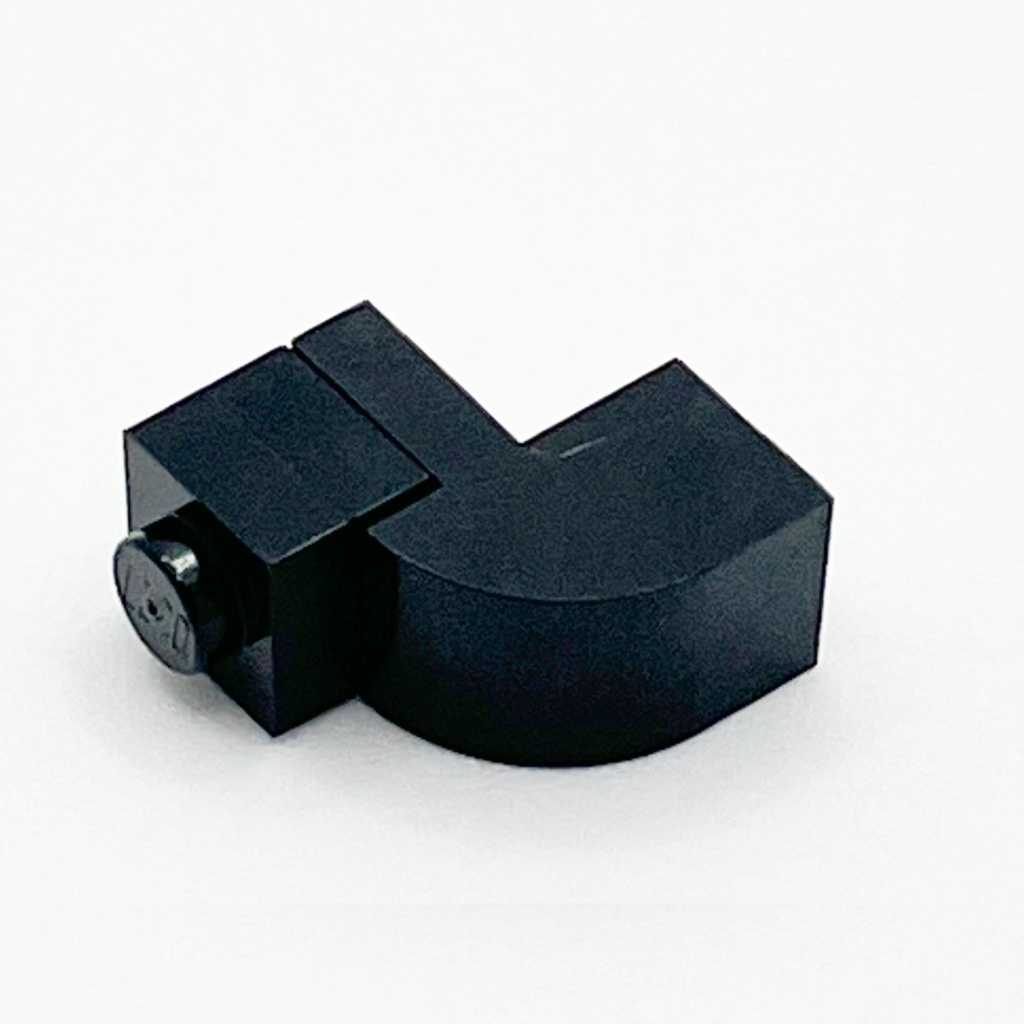
Add a 1×1 plate (of a different color from the rest of the leg, if you like) to the bottom of the curve slope in order to give your minifig a shoe!:
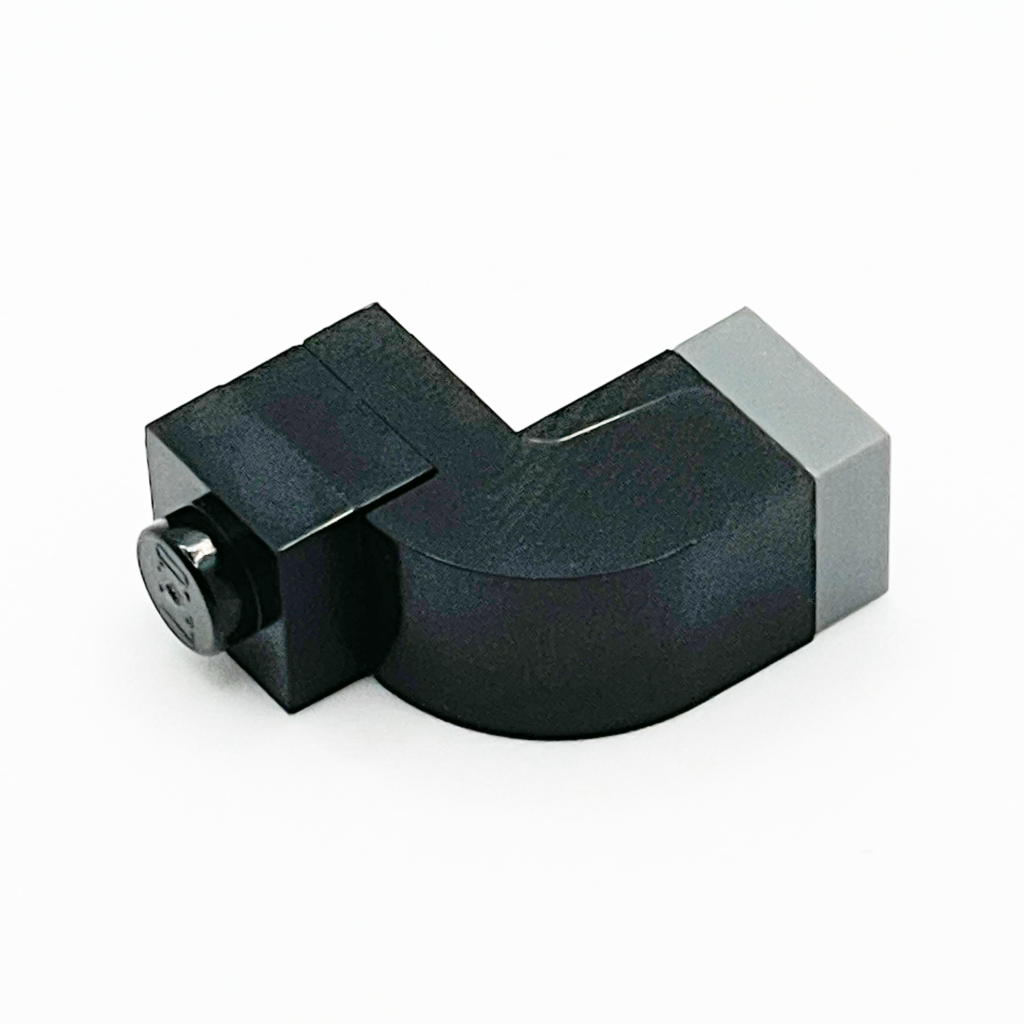
Now connect this assemblage to the right side of your minifig’s torso:
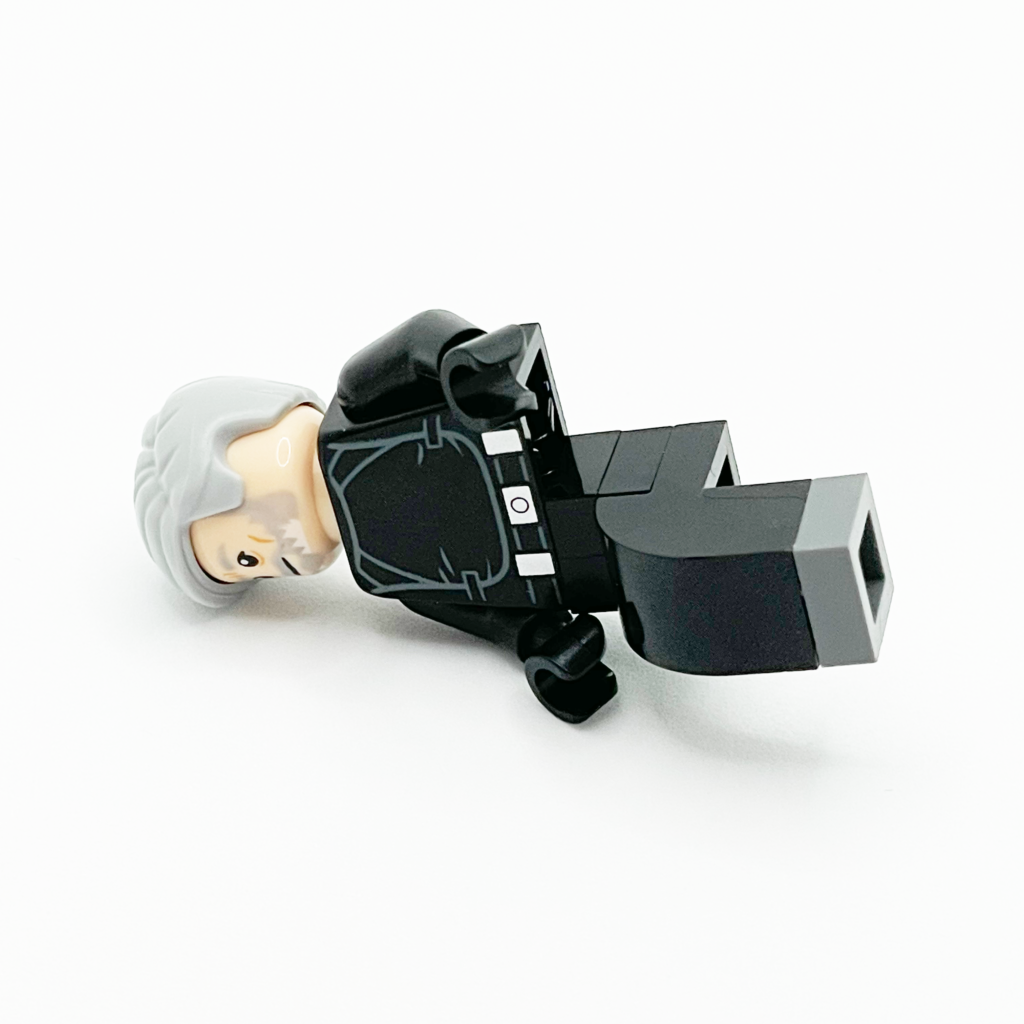
Next, you’ll need these four pieces:
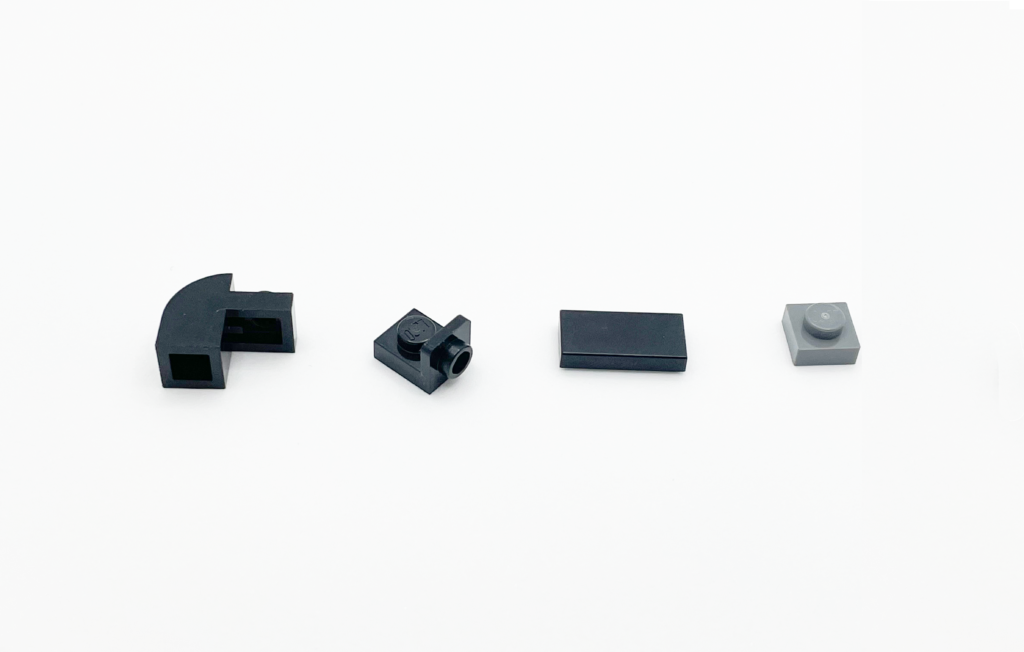
Take the 1×1 inverted bracket:
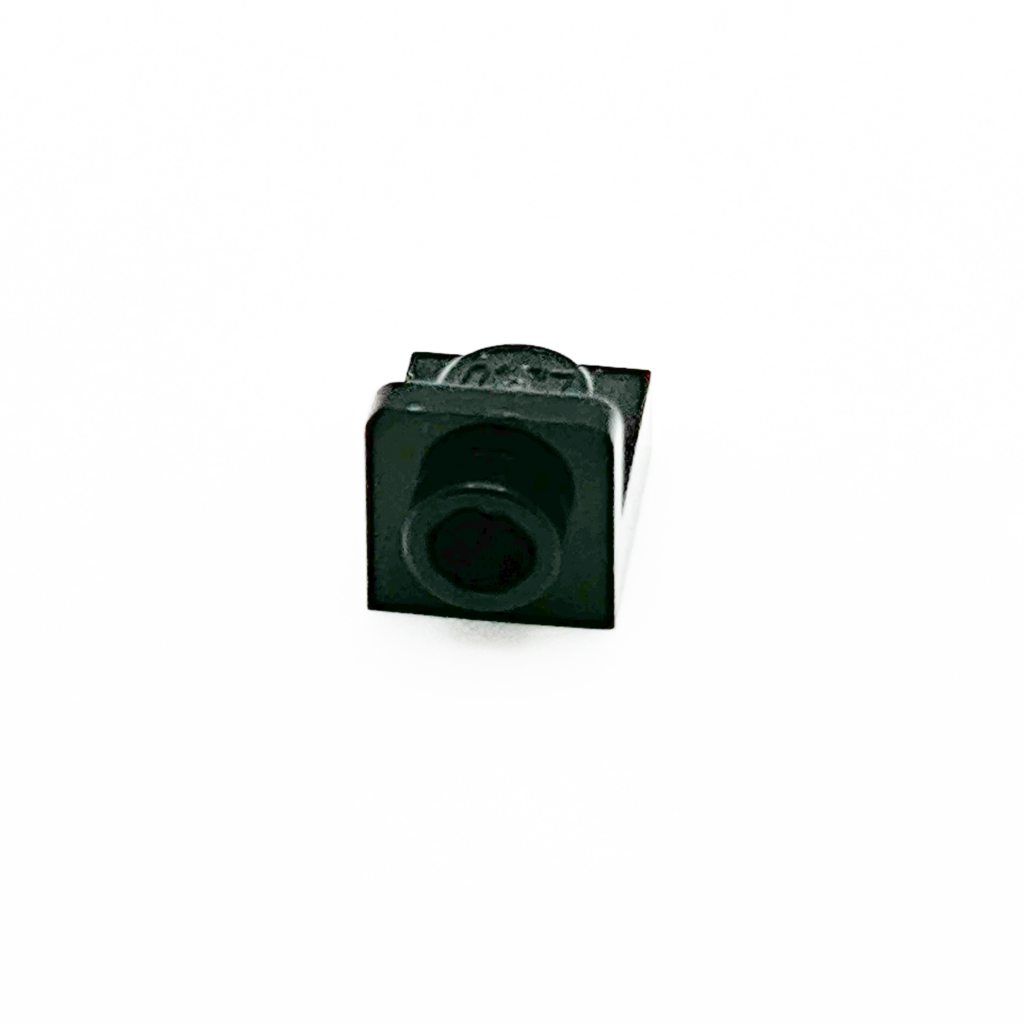
Add a 1×2 tile on top of the bracket’s non-hollow stud:
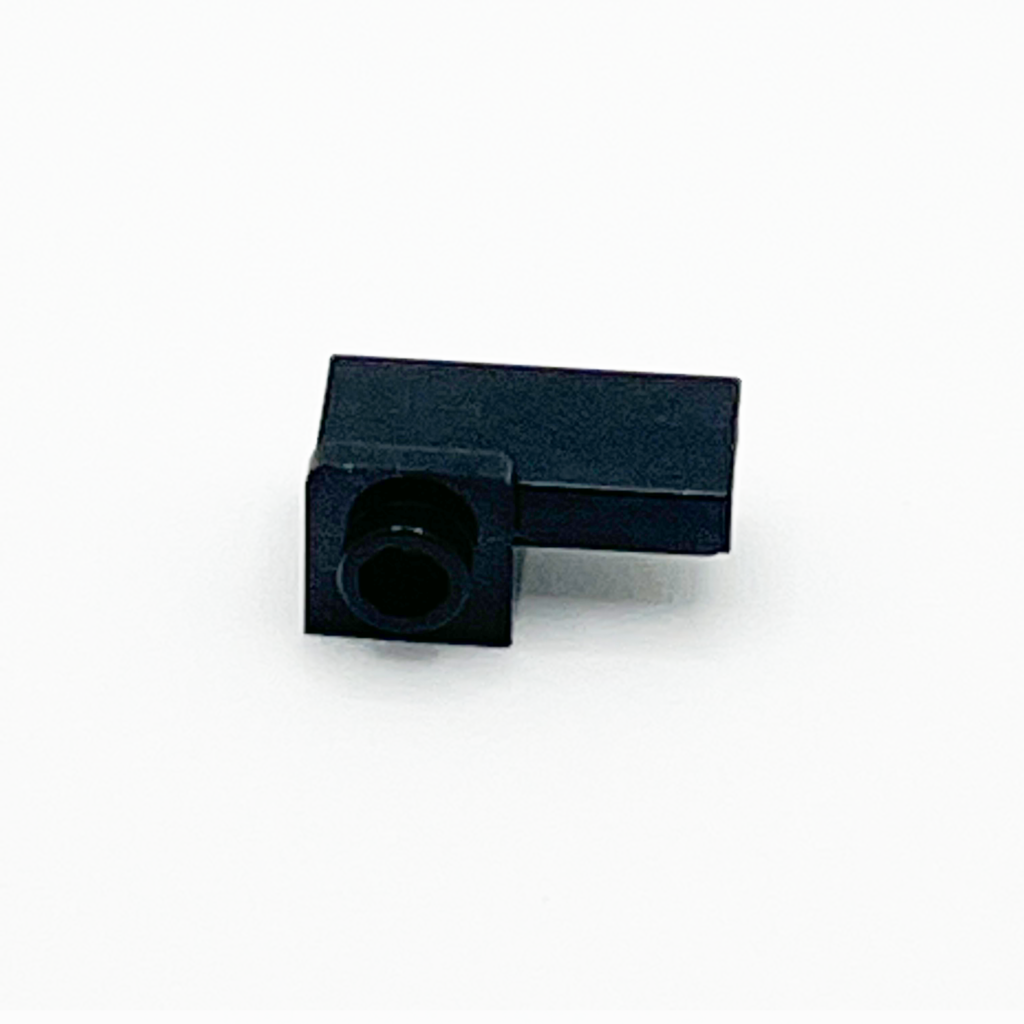
Now clip a 1×2 curved slope with recessed stud underneath the previous assemblage, so that the recessed stud of the curved slope connects to the underside of the 1×2 tile:
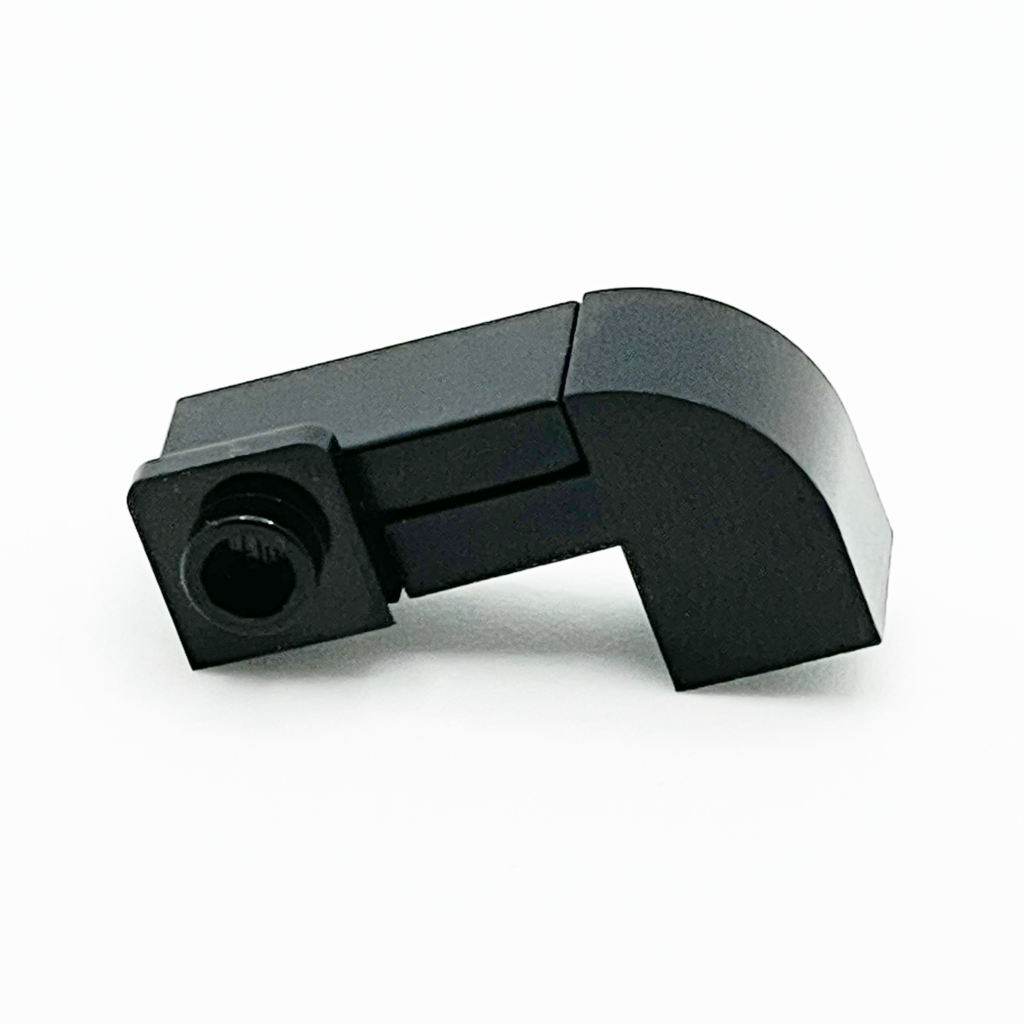
Clip another 1×1 plate to the bottom of the curve slope on this assemblage to give your minifig another shoe:
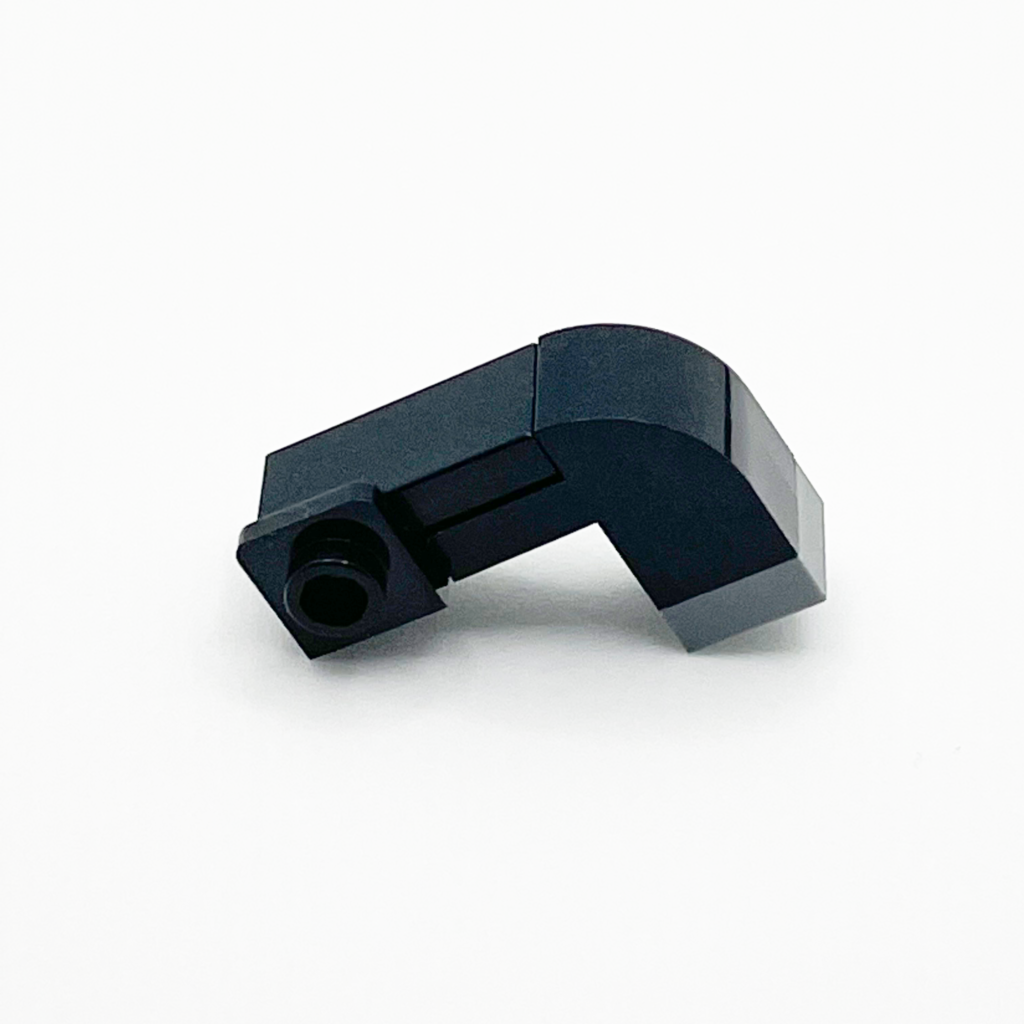
Time to add this assemblage to the left side of the minifig’s torso, so that this curved leg crosses over the straight leg:
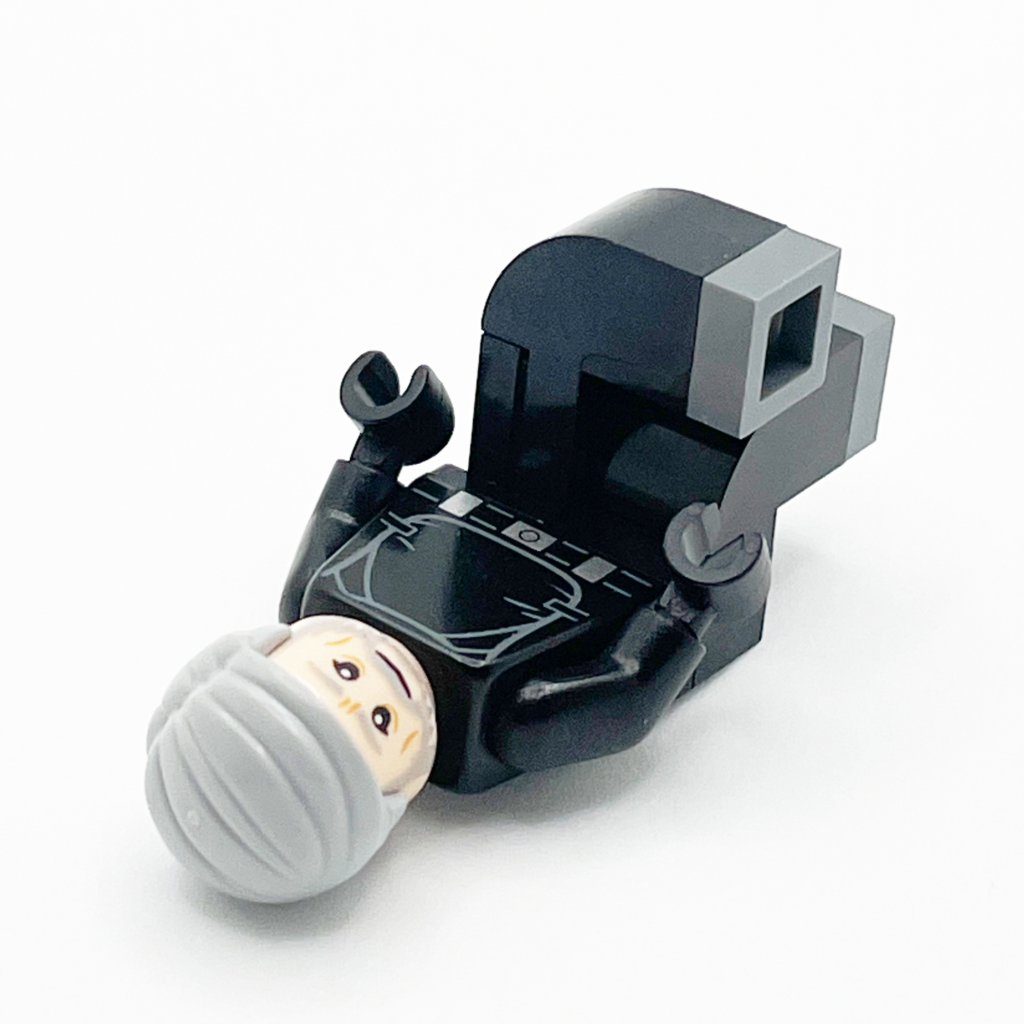
Lastly, give your minifig a chair to sit in!:
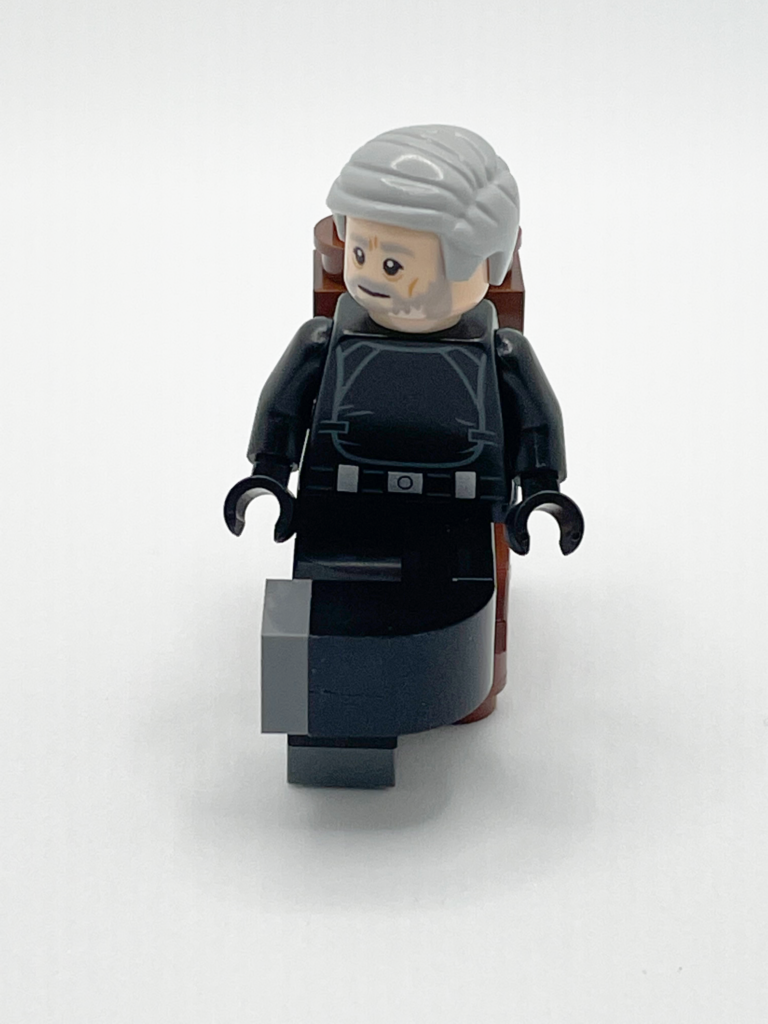
These minifig-style crossed legs can be built in virtually any color!
Did you enjoy this build, or do you have a request for me to show how I accomplished a technique from another Historbrick photo? Let me know if the comments below!
