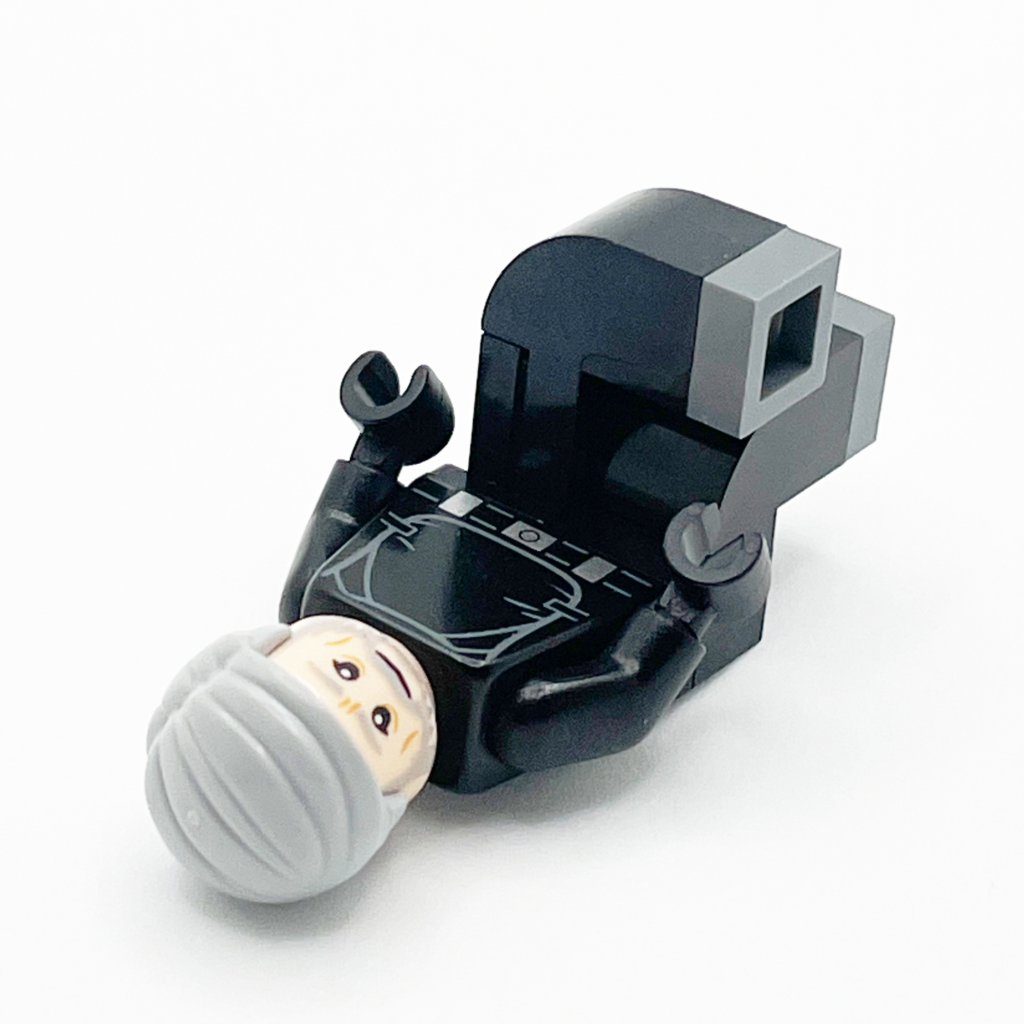
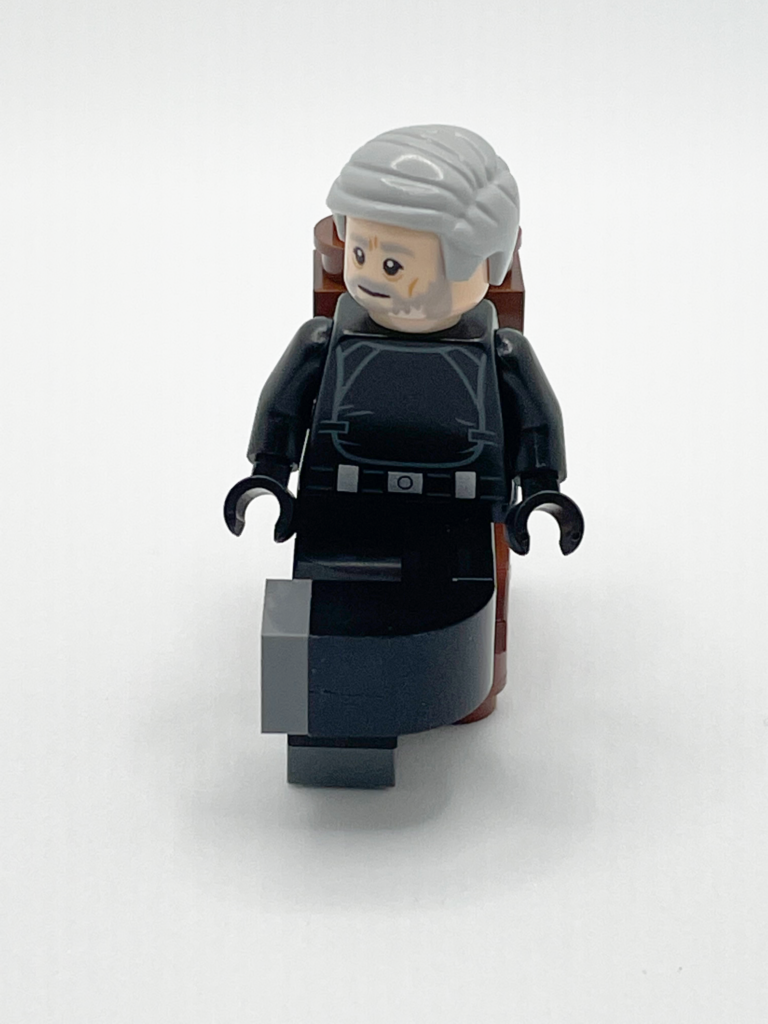
Lego’s single-piece, molded goat figure only appeared in one set in 2011 and never again. With the molds for this goat figure having been lost, the prices for these molded goats has skyrocketed to over $50.
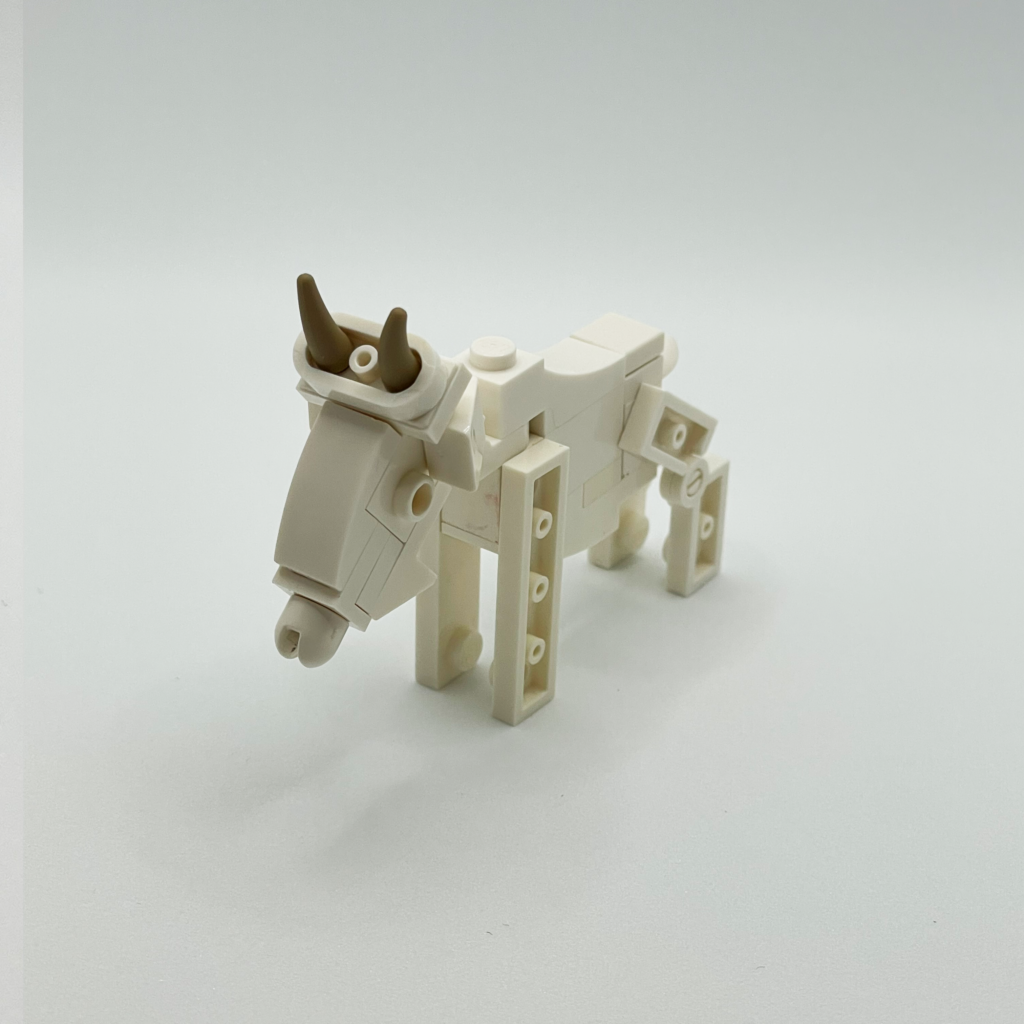
For those whose MOCs need a goat or two but don’t want to spend dozens of dollars for a single piece, check out this design that I have developed for a brick-built goat!
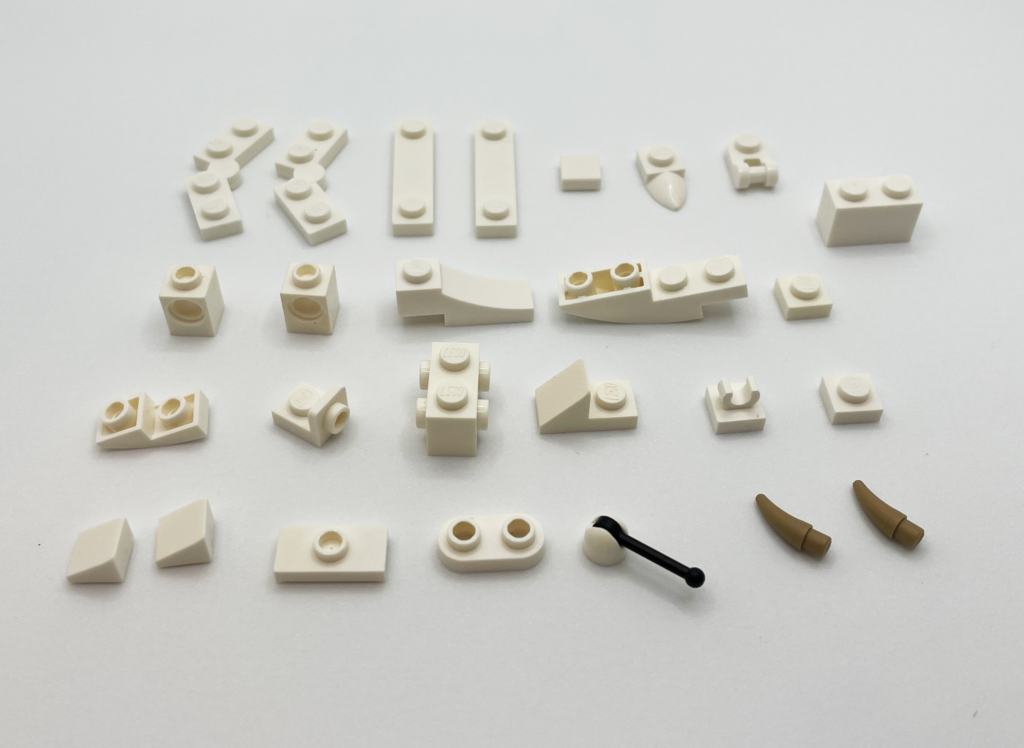
Below are all of the pieces you will need. The bricks I use here are in white, but, of course, these pieces are all available in many different colors:
First, we will build the head of the goat. That will require the following 13 pieces:

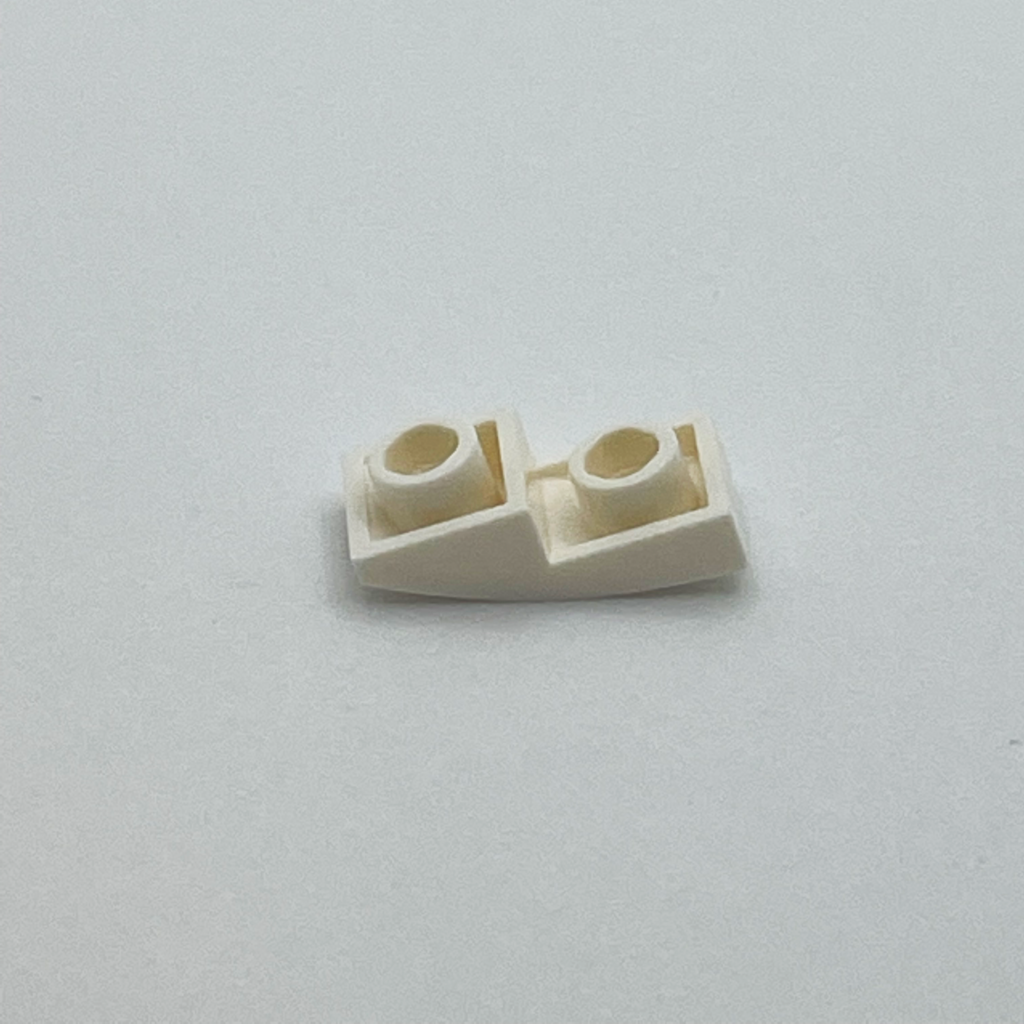
Start with a 1×2 inverted curved slope:
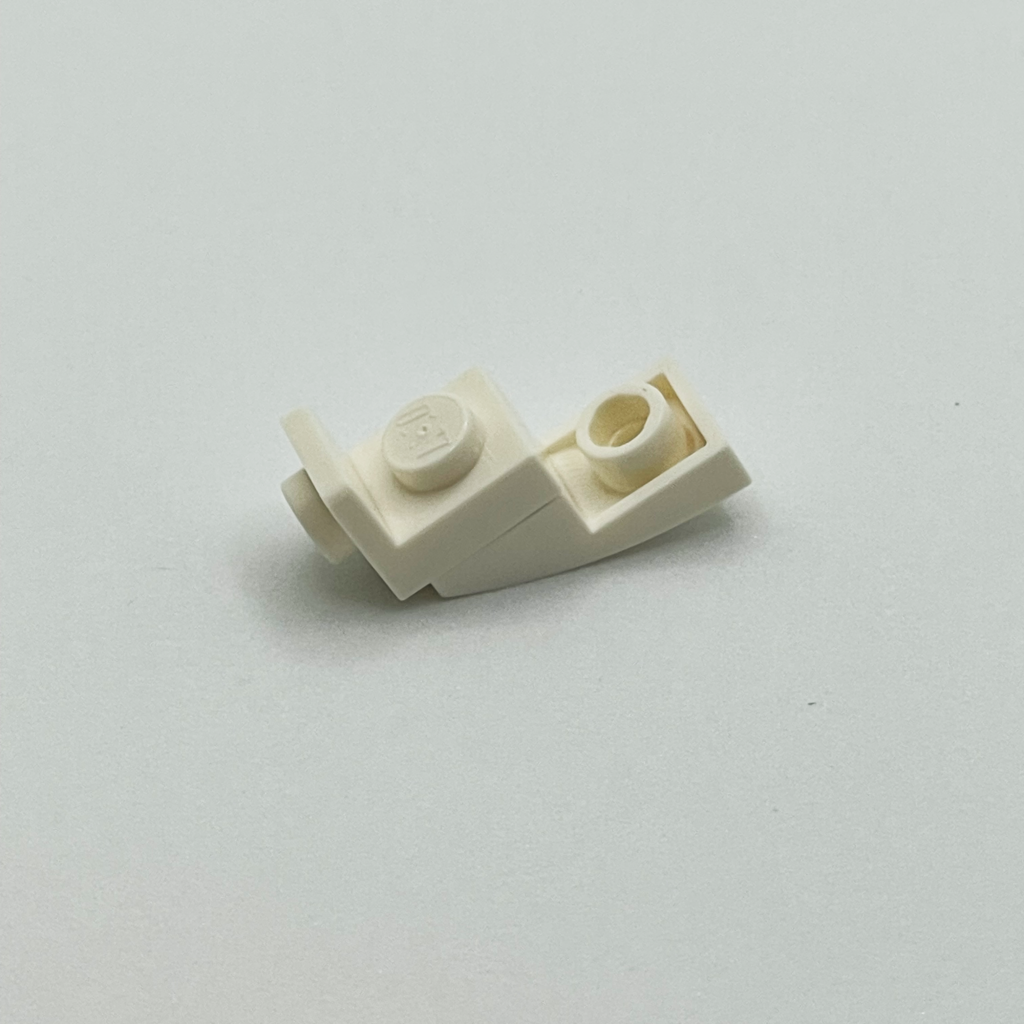
Clip an inverted 1×1 bracket on top of the taller stud of the slope:
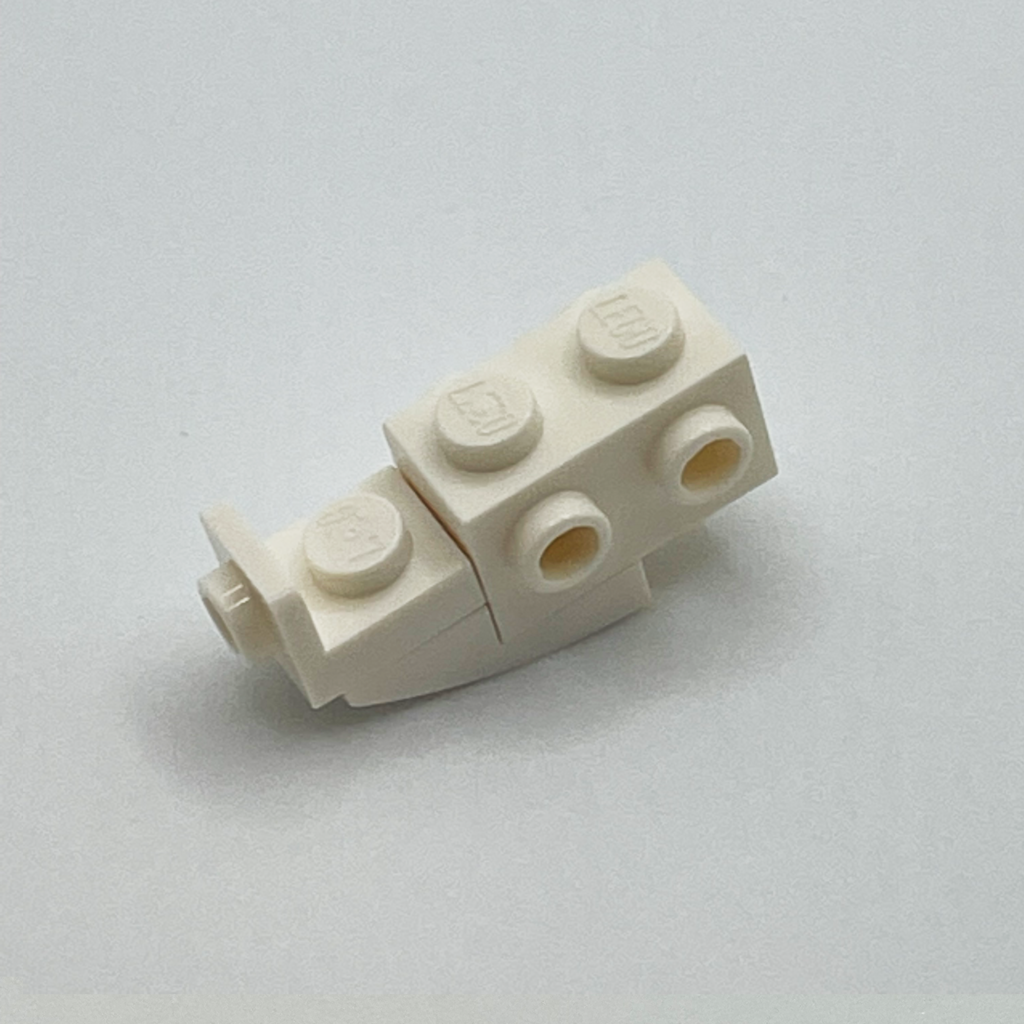
Place the double-sided side-studs 1×2 brick onto the lower stud of the aforementioned slope:
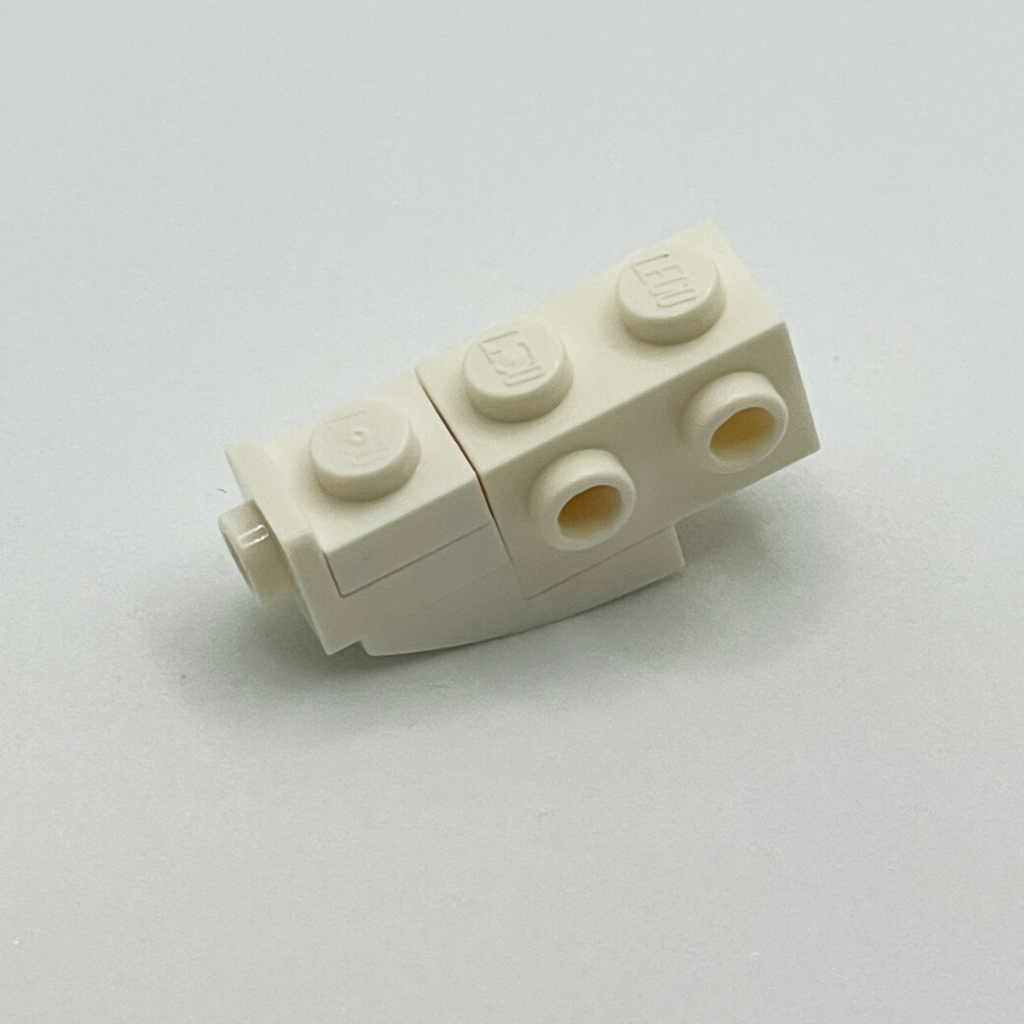
Add a 1×1 plate on top of the bracket’s non-hollow stud:
Now add a 1×2 cut-out slope on top of the assemblage so that the lowest angle of the cut-out slope meets the vertical part of the 1×1 bracket:
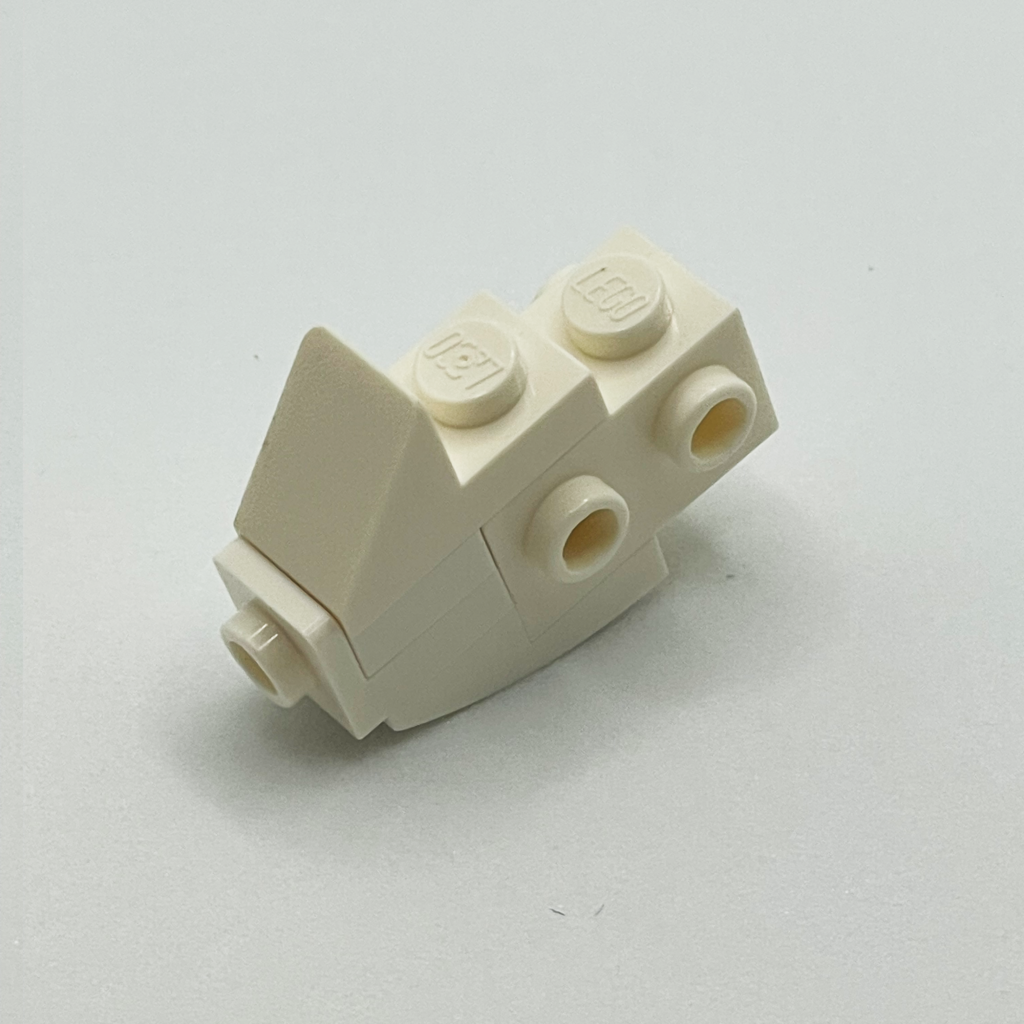
Place a 1×1 tile with a vertically-facing clip on top of the uncovered stud of the studs-on-the-side brick. The clip should be oriented so that the broad sides of its pincers face the slopes:
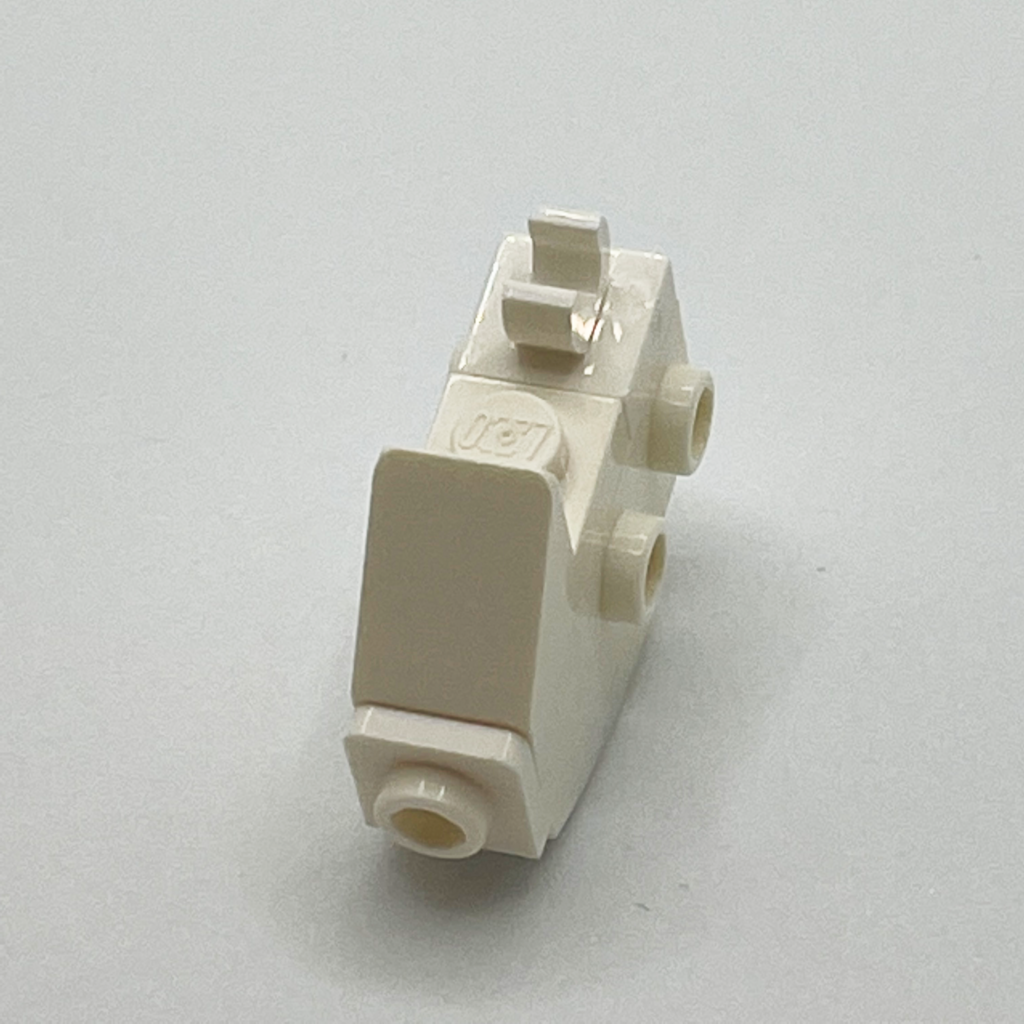
Now, flip this assemblage upside-down:
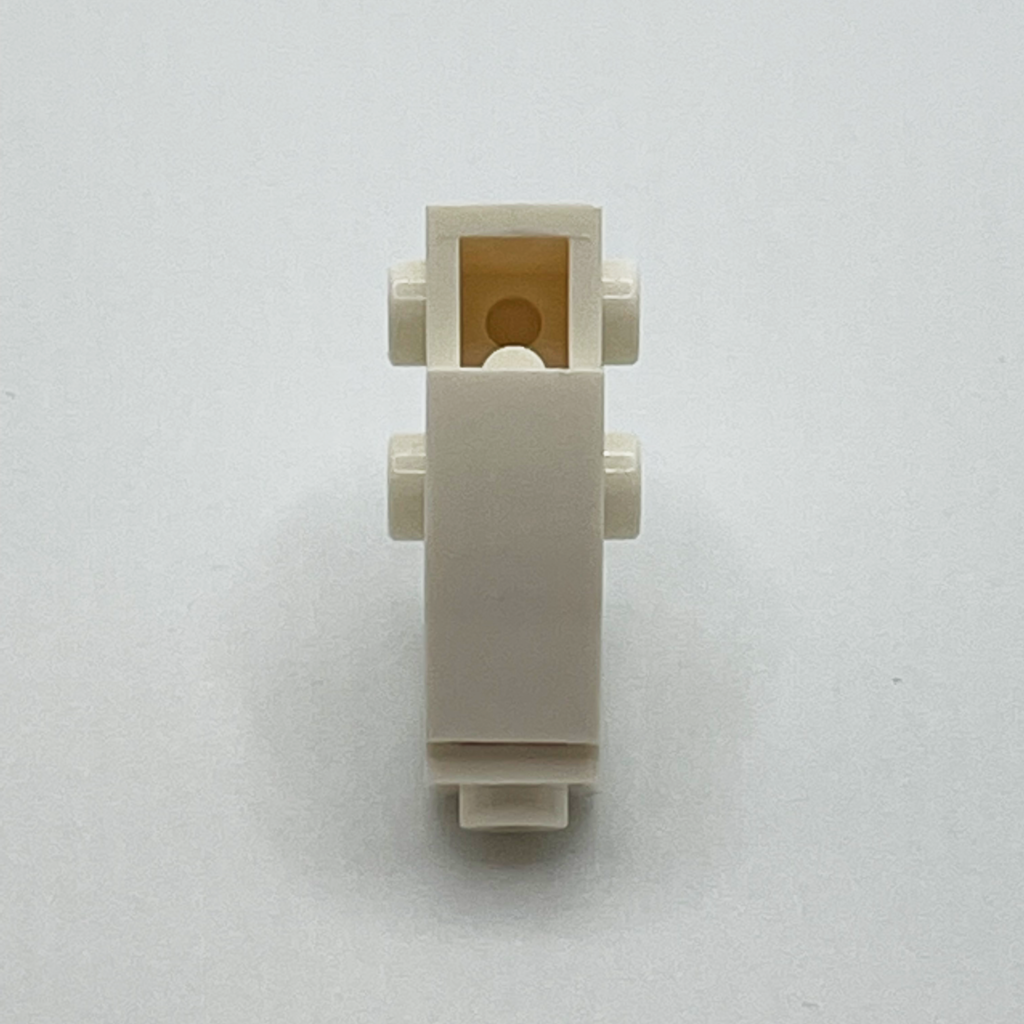
Place the two 1×1 wedge slopes on the two studs of the studs-on-both-sides brick that are furthest away from the curved slope and bracket. These wedges should be oriented such that the tallest sides of the 1×1 wedges face the curved slope and bracket. The narrowest sides of the 1×1 wedges should face away from the assemblage’s curved slope and bracket:
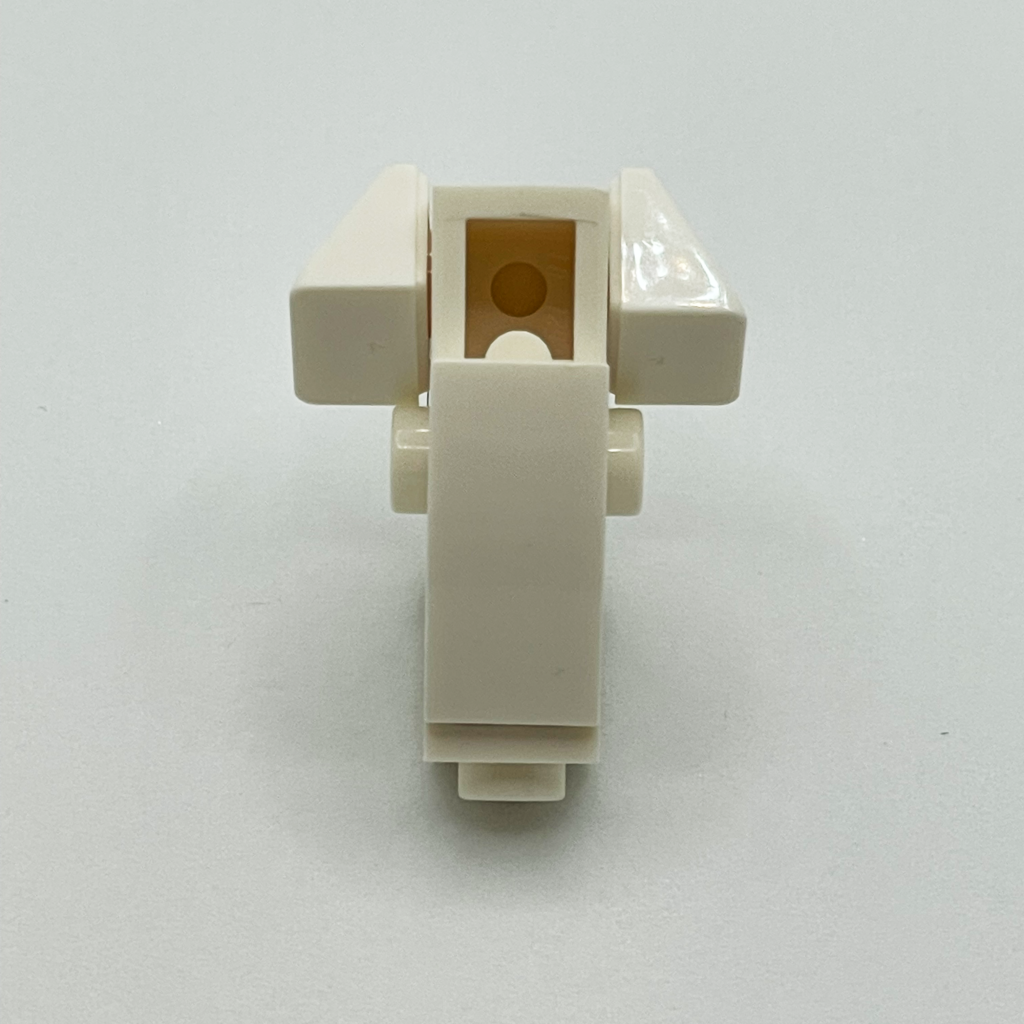
Take a 1×2 jumper plate and connect it by its stud to the open half of the underside of the studs-on-the-side brick:
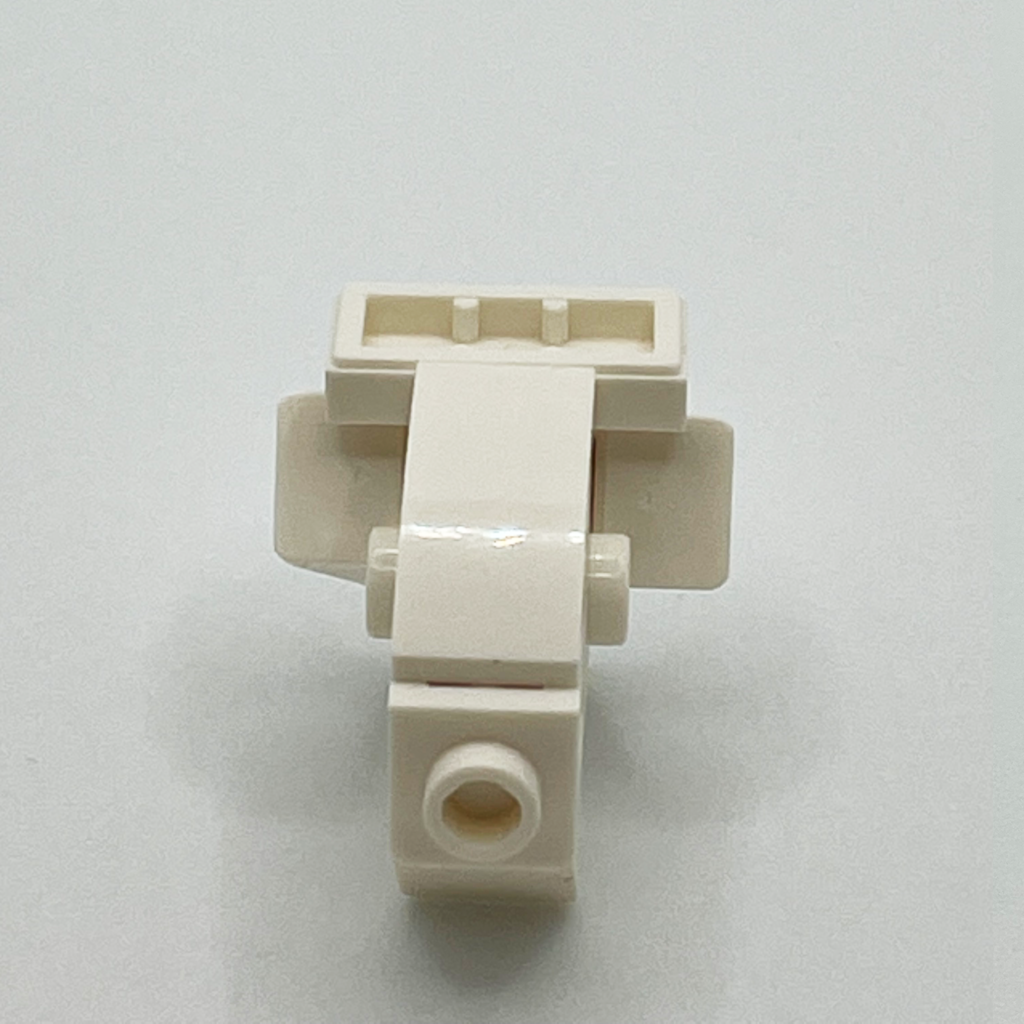
Connect a 1×2 rounded plate to the aforementioned jumper plate. (If you don’t have such a rounded plate in the desired color, you can also use two hollow 1×1 studs.)
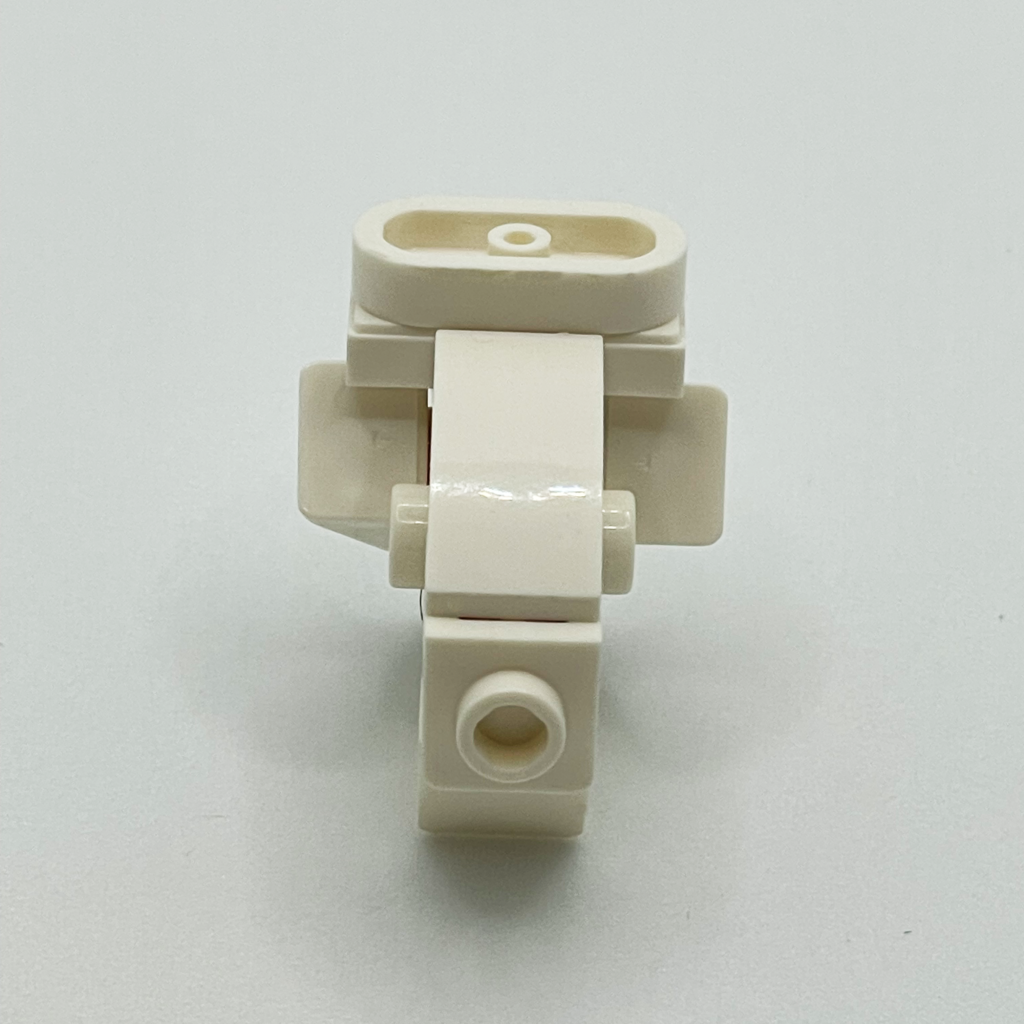
Plug two horns into the two holes of the rounded 1×2 plate:
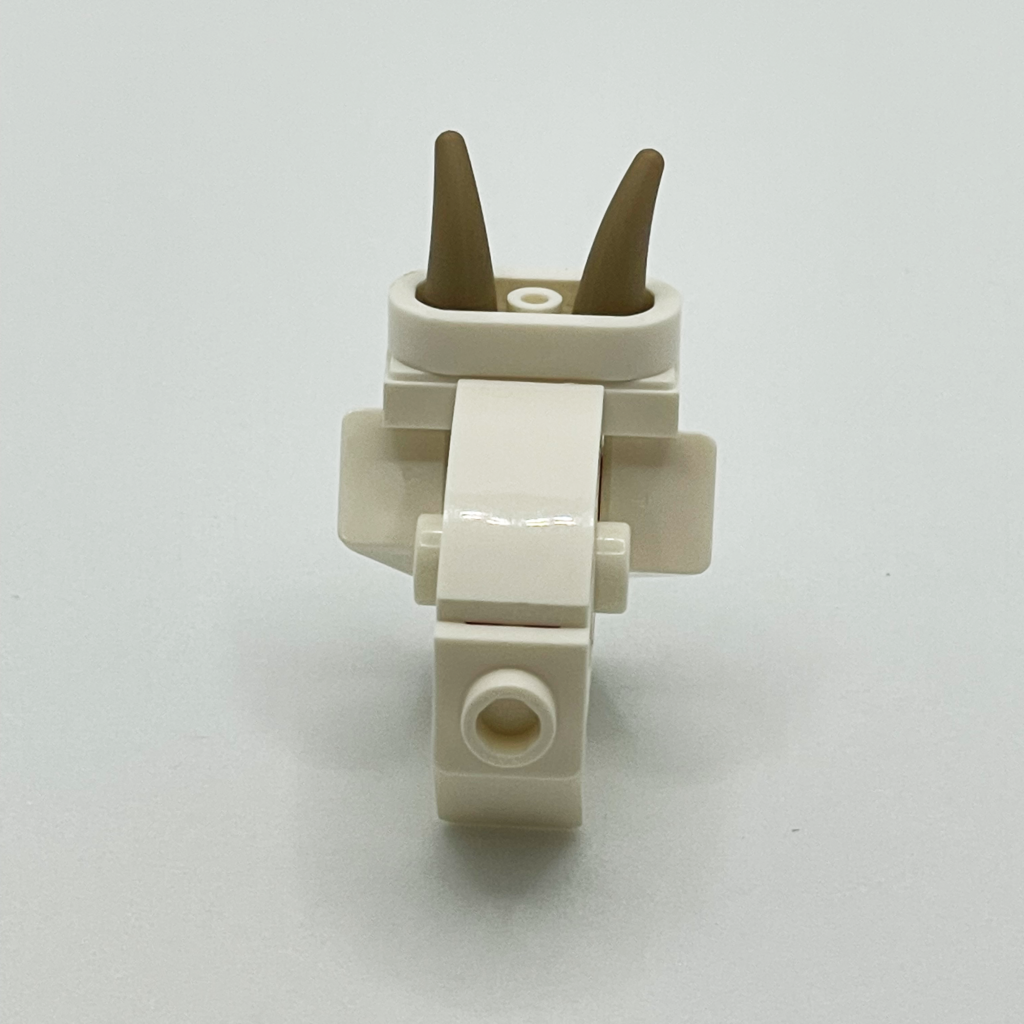
Grab a 1×1 antenna piece. (You will need to pull the black antenna out of its base.)
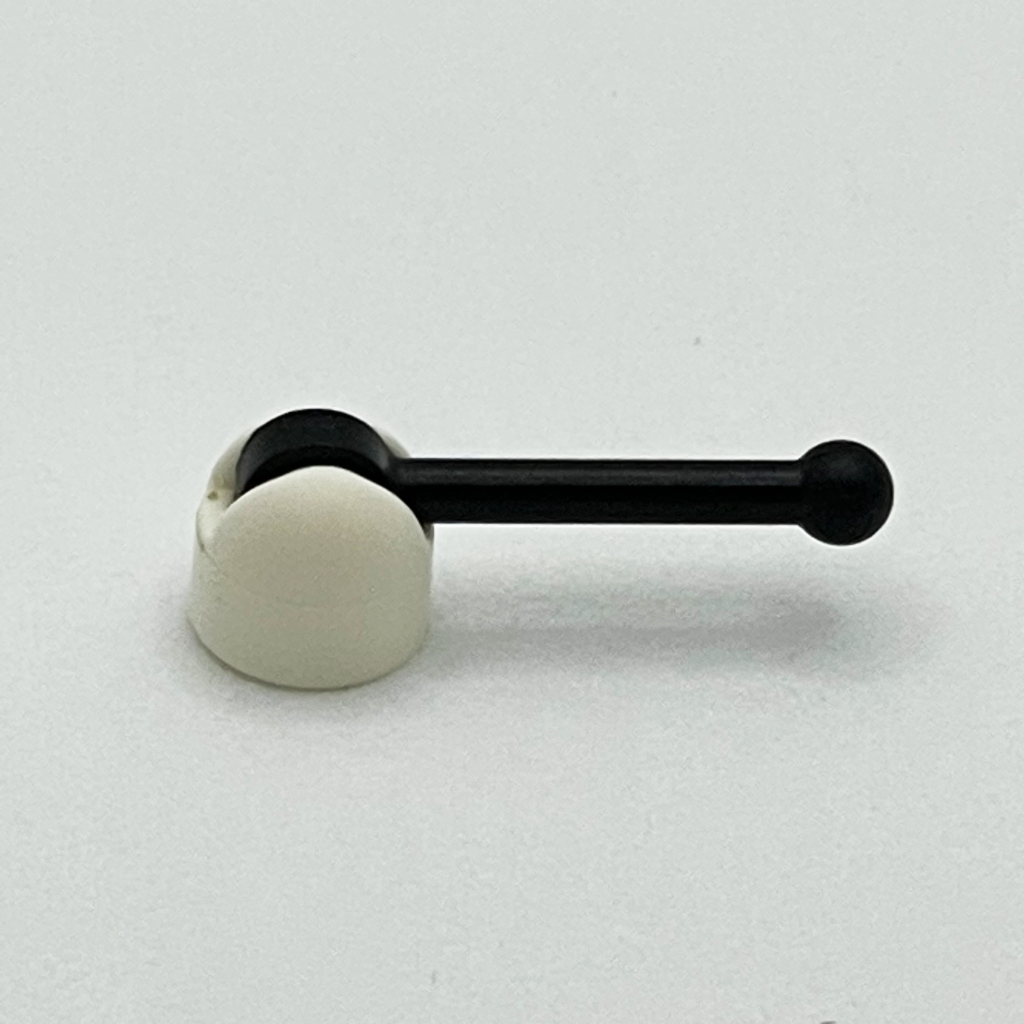
Clip the 1×1 antenna base onto the available stud of the 1×1 bracket to give your goat a nice ruminant snout:
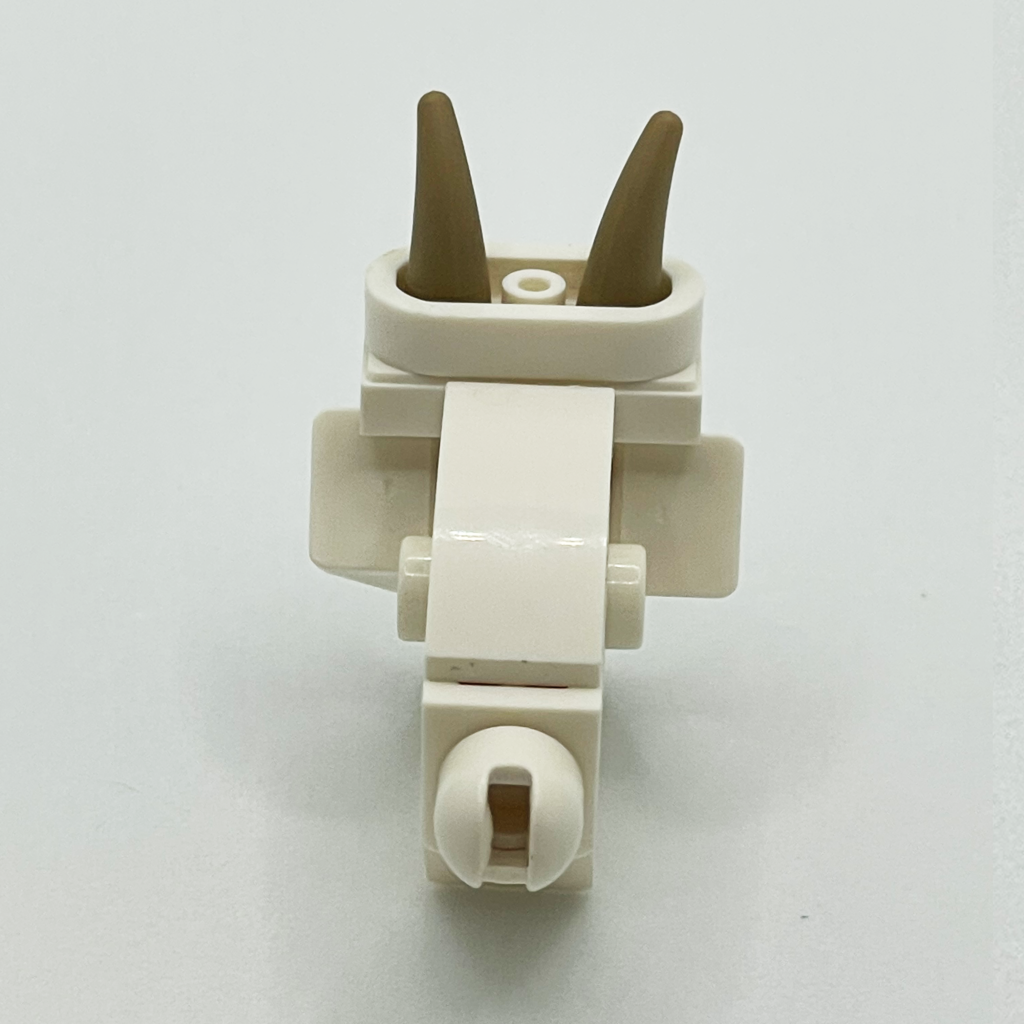
You have now built your goat’s head!
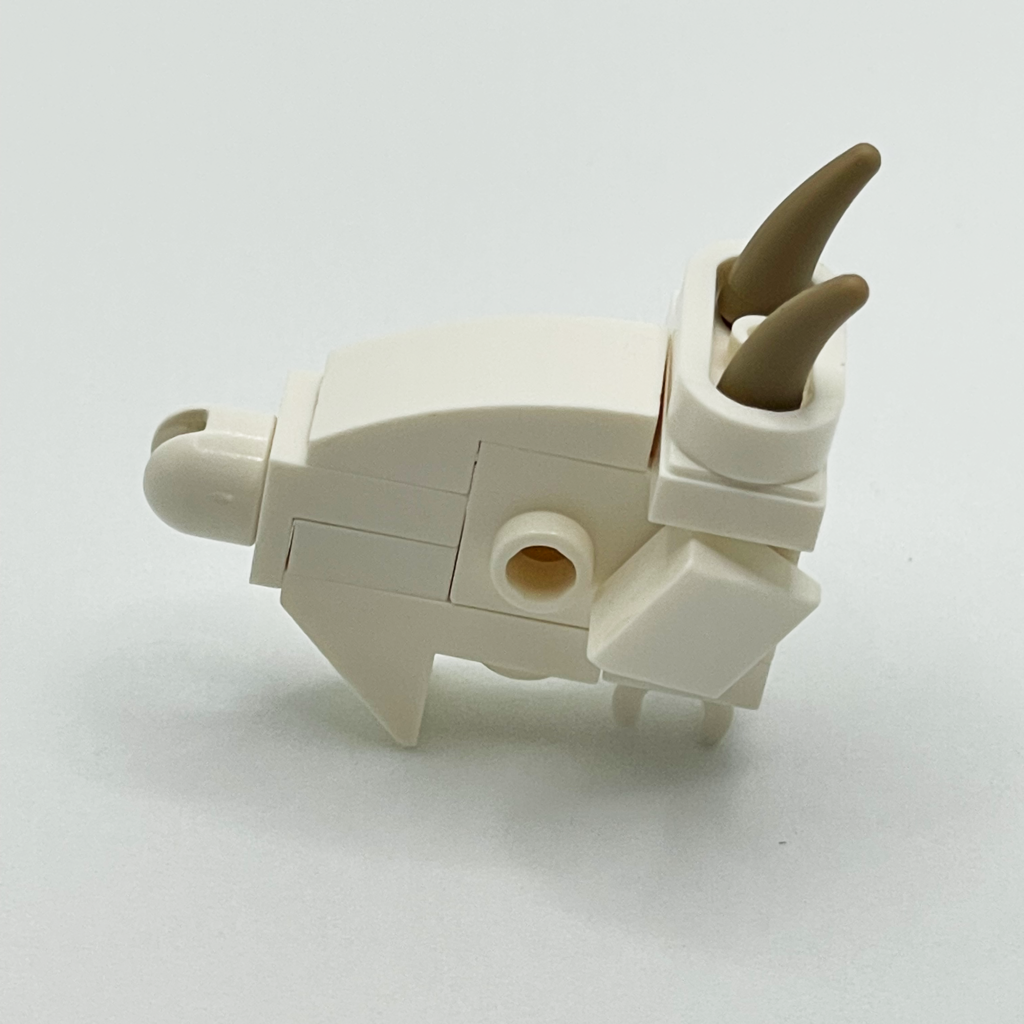
Next, we will work on building the rest of the goat’s body. For this segment, you will need the following 13 pieces:
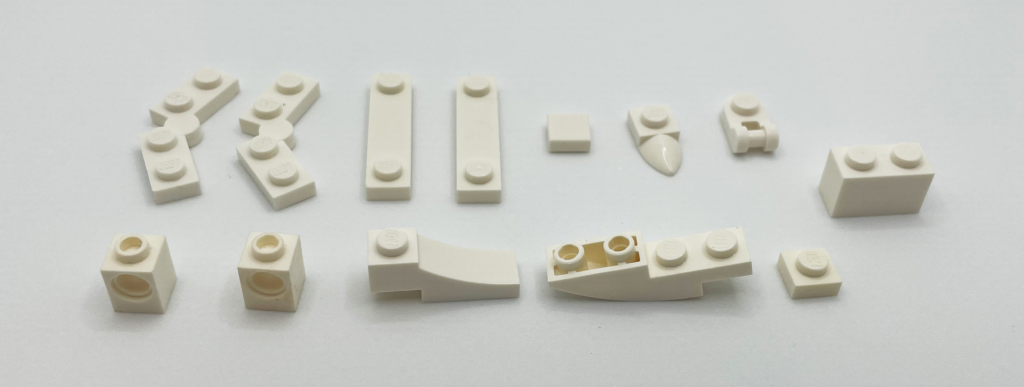
Start with a 1×4 inverted curved slope:
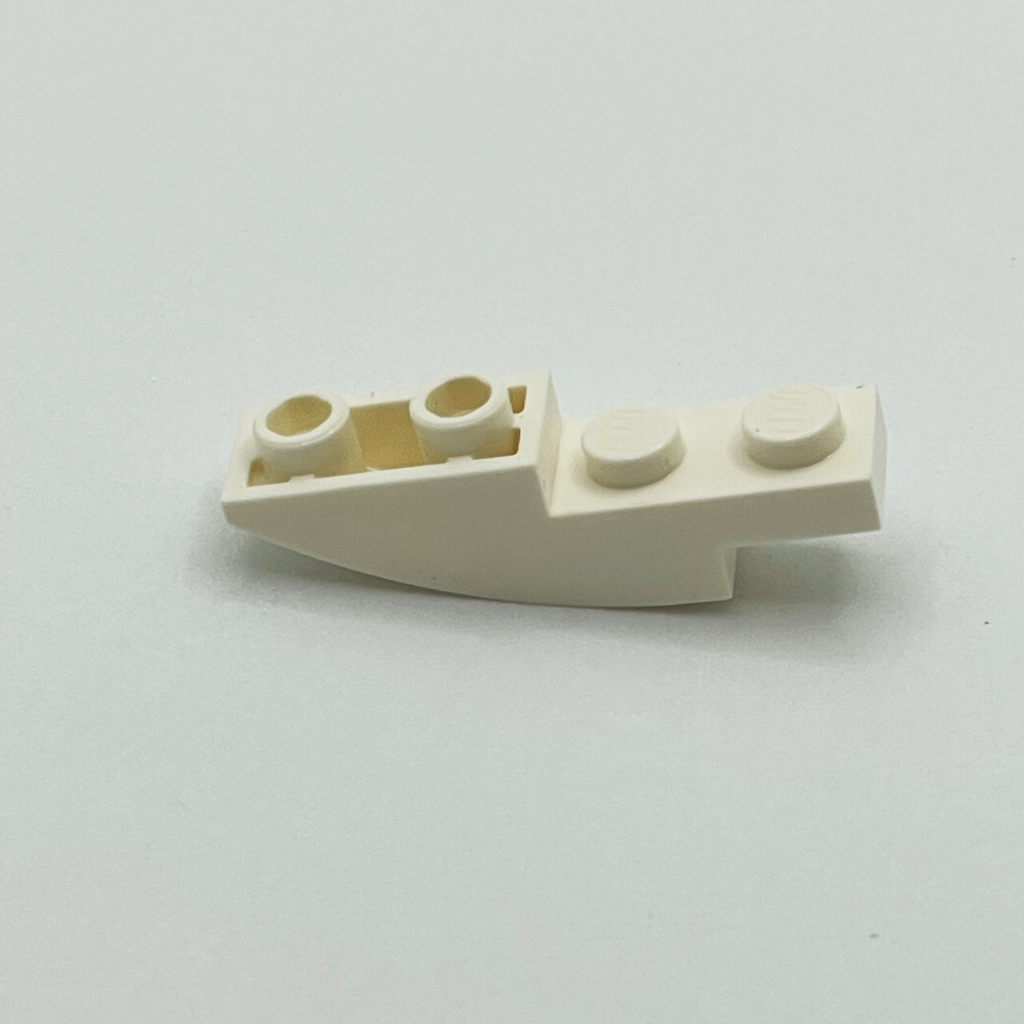
Add a 1×1 plate on top of the third stud of this slope (the stud at the bottom of the top’s small 90-degree angle):
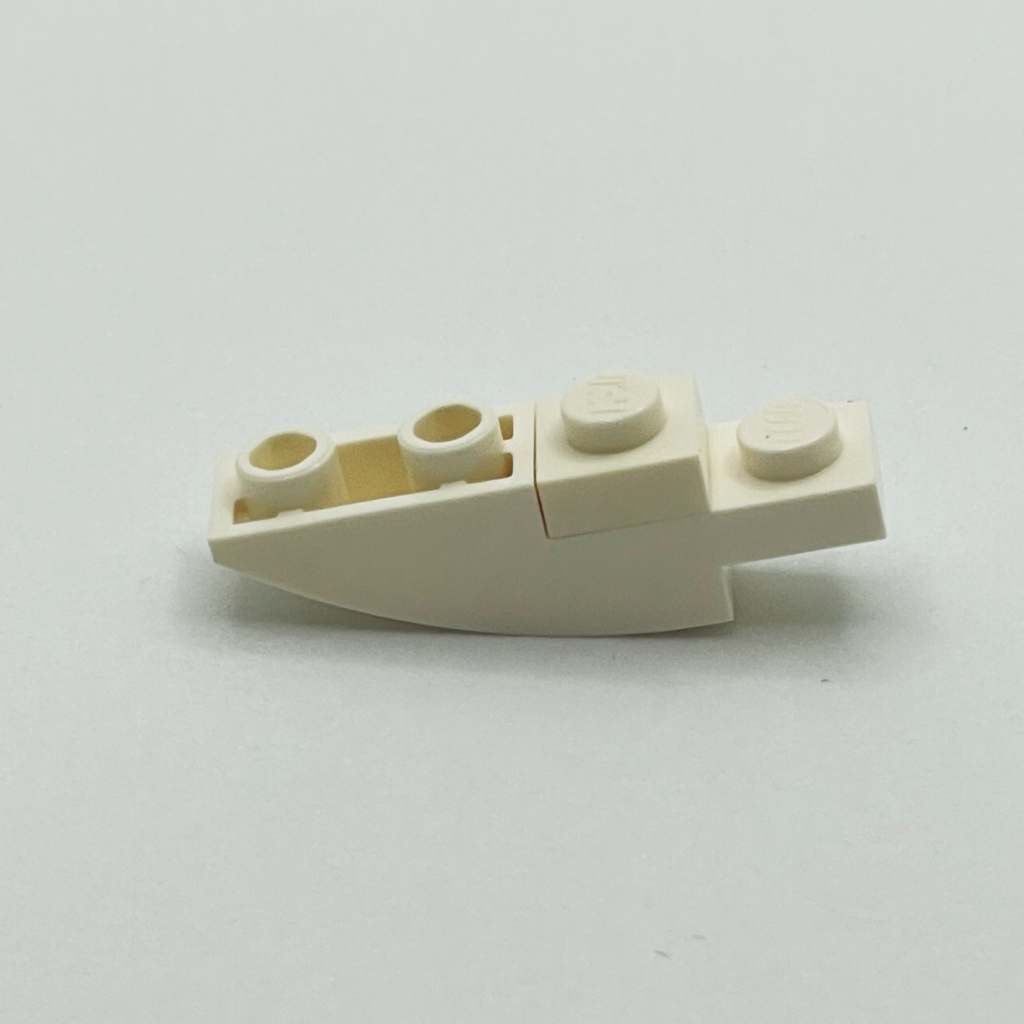
Clip a 1×2 brick onto the middle two studs of this assemblage:
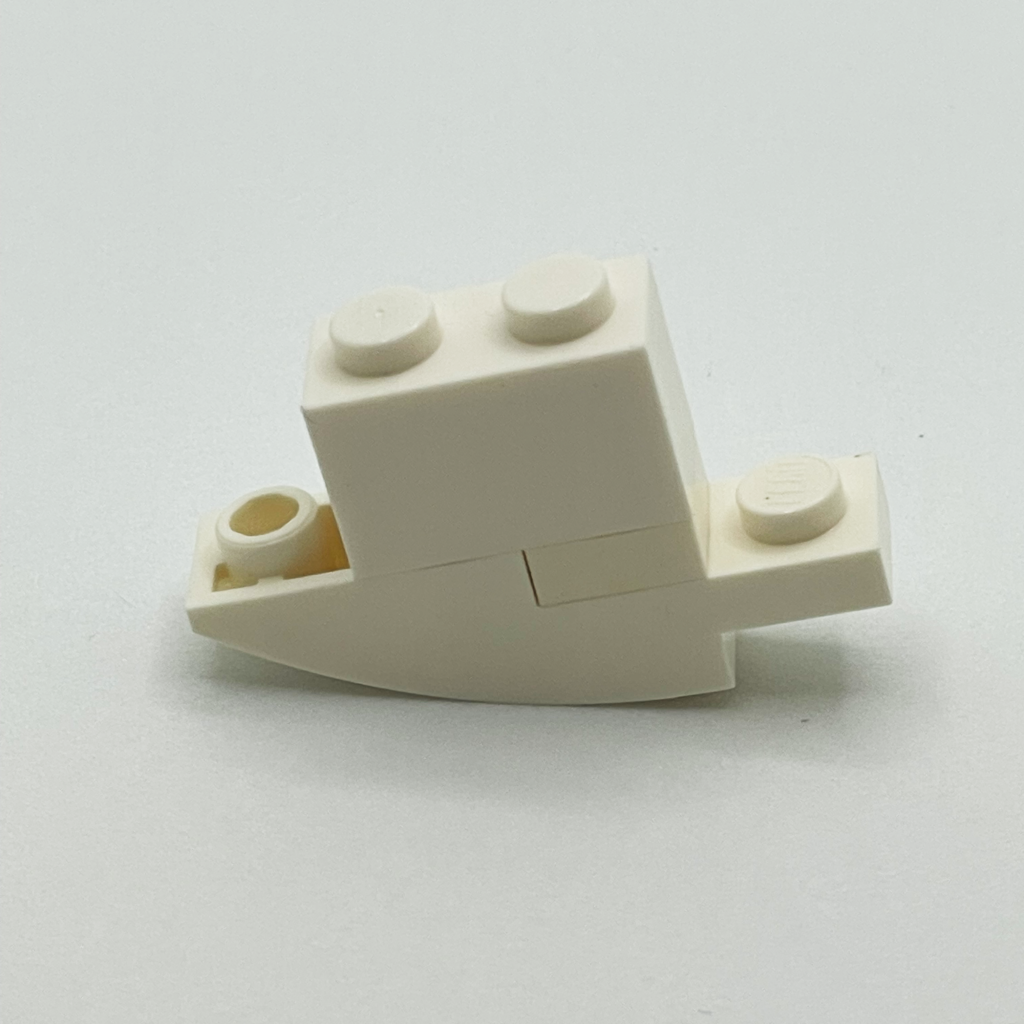
Next, on top of the highest stud of the 1×4 slope, stack a 1×1 technic brick (with both holes facing out), a rounded 1×1 plate with bar handle, and then a curved 1×3 slope (the highest end of the slope should clip onto the bar-handle plate, and the lower end of the slope should clip onto the 1×2 brick):
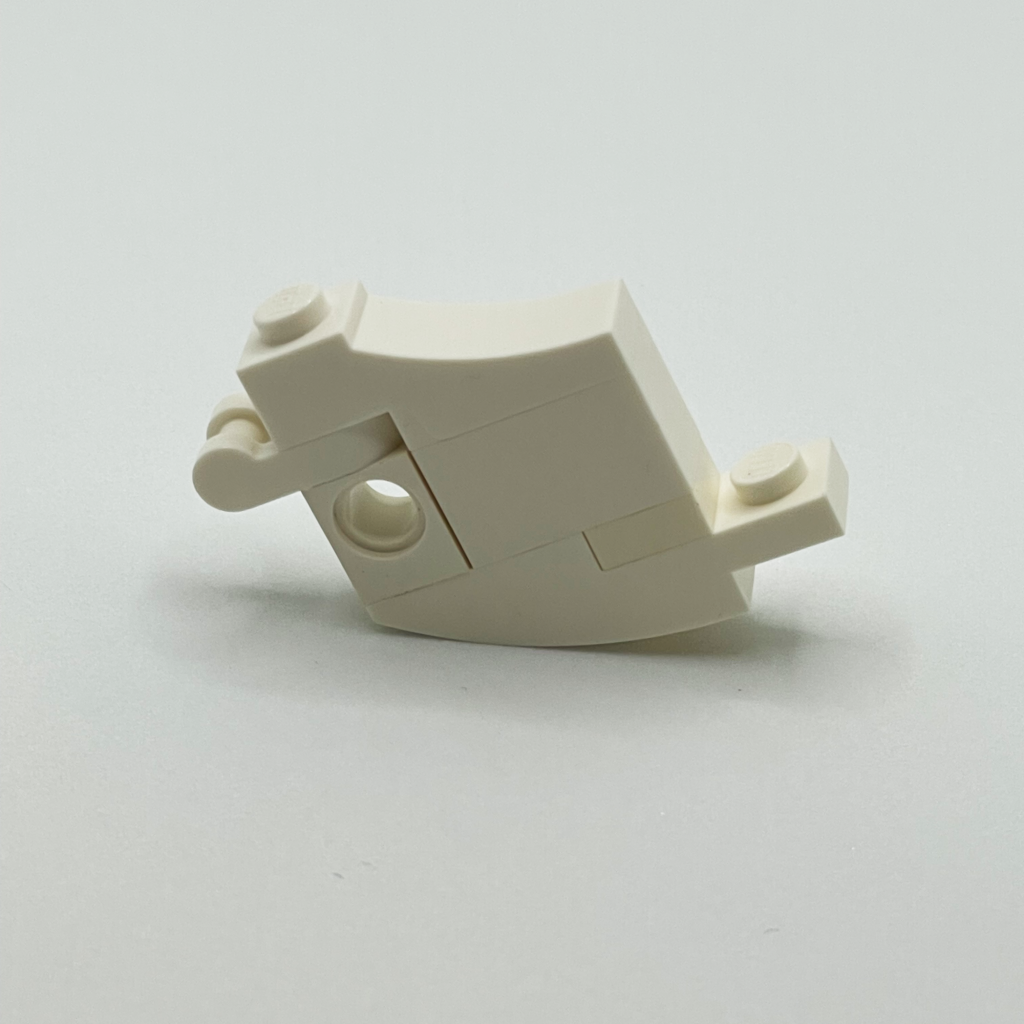
Clip another 1×1 technic brick onto the available stud of the inverted 1×4 slope piece. (This technic brick should also have its holes facing out.)
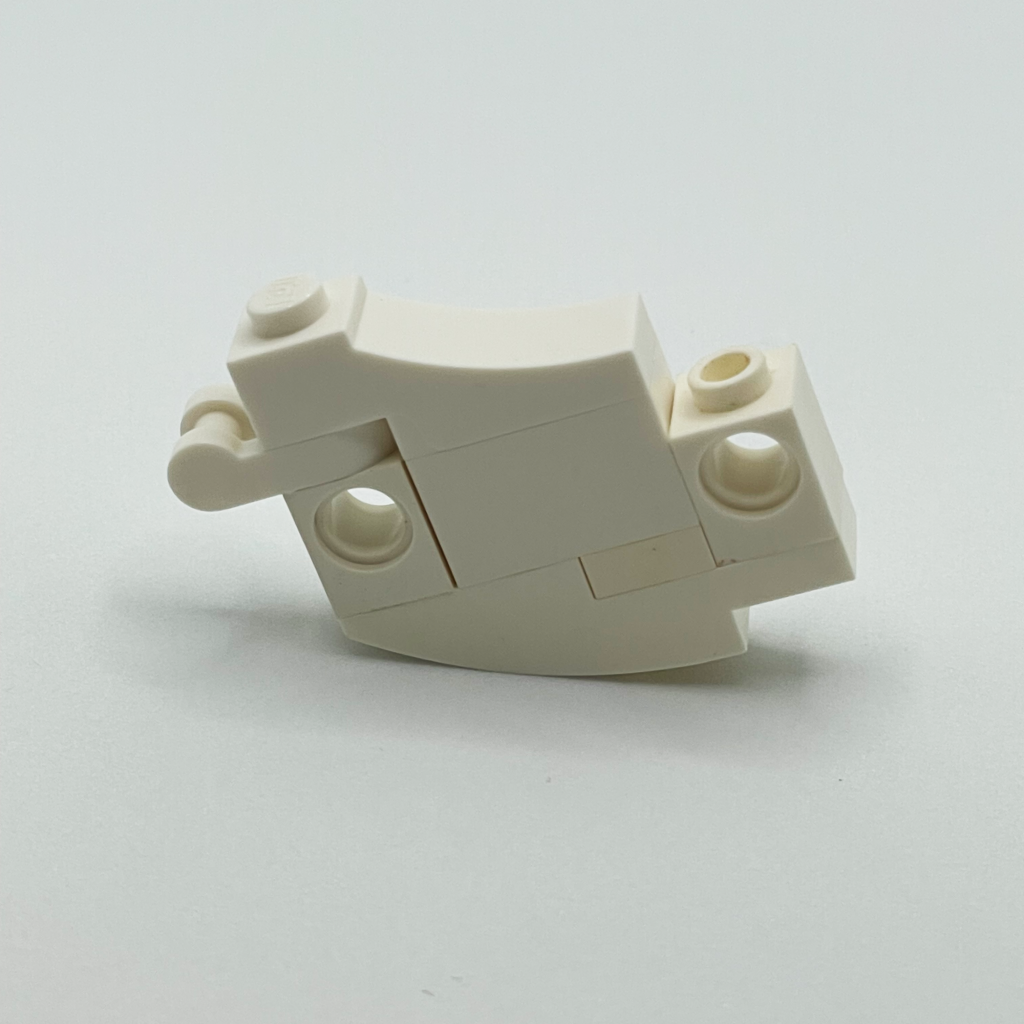
Now put a 1×1 plate with a horizontal tooth onto the top of the aforementioned technic brick:
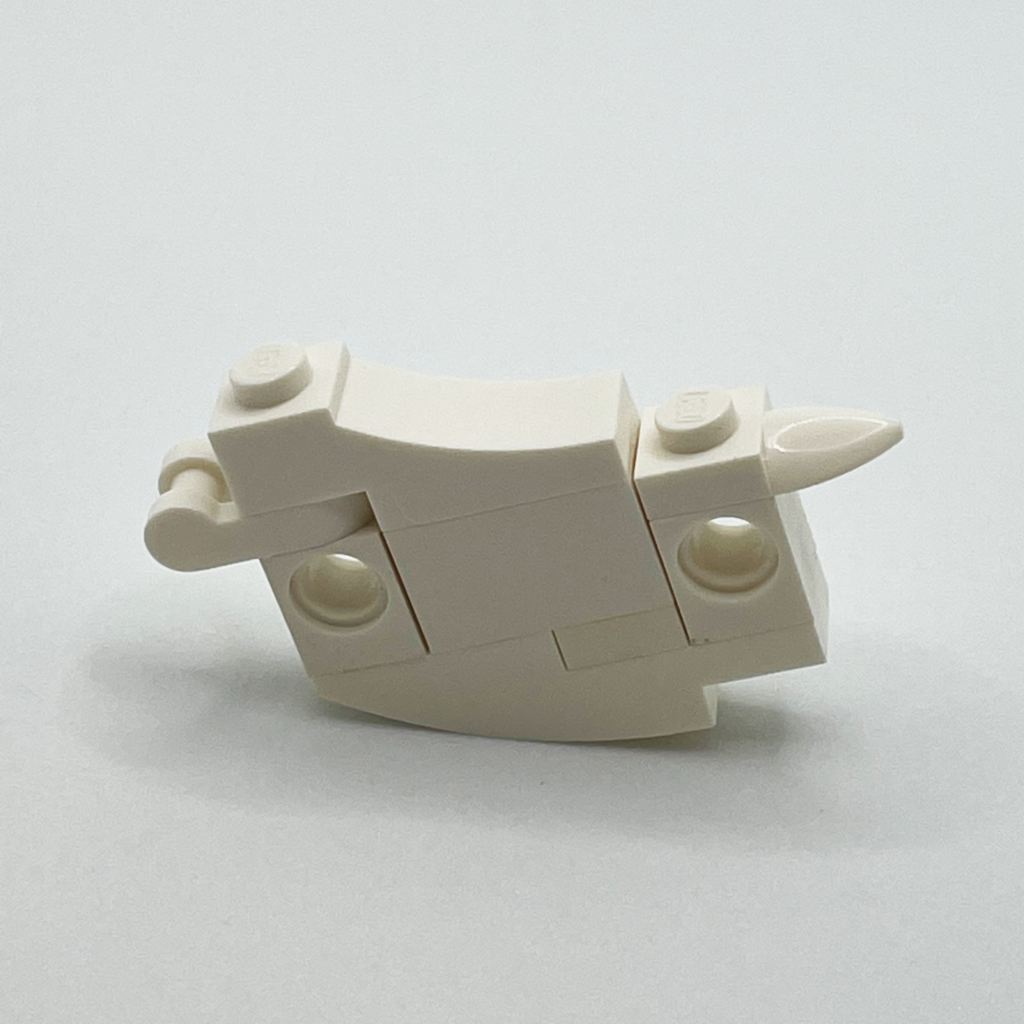
Next, add a 1×1 plate on top of the horizontal-tooth plate:
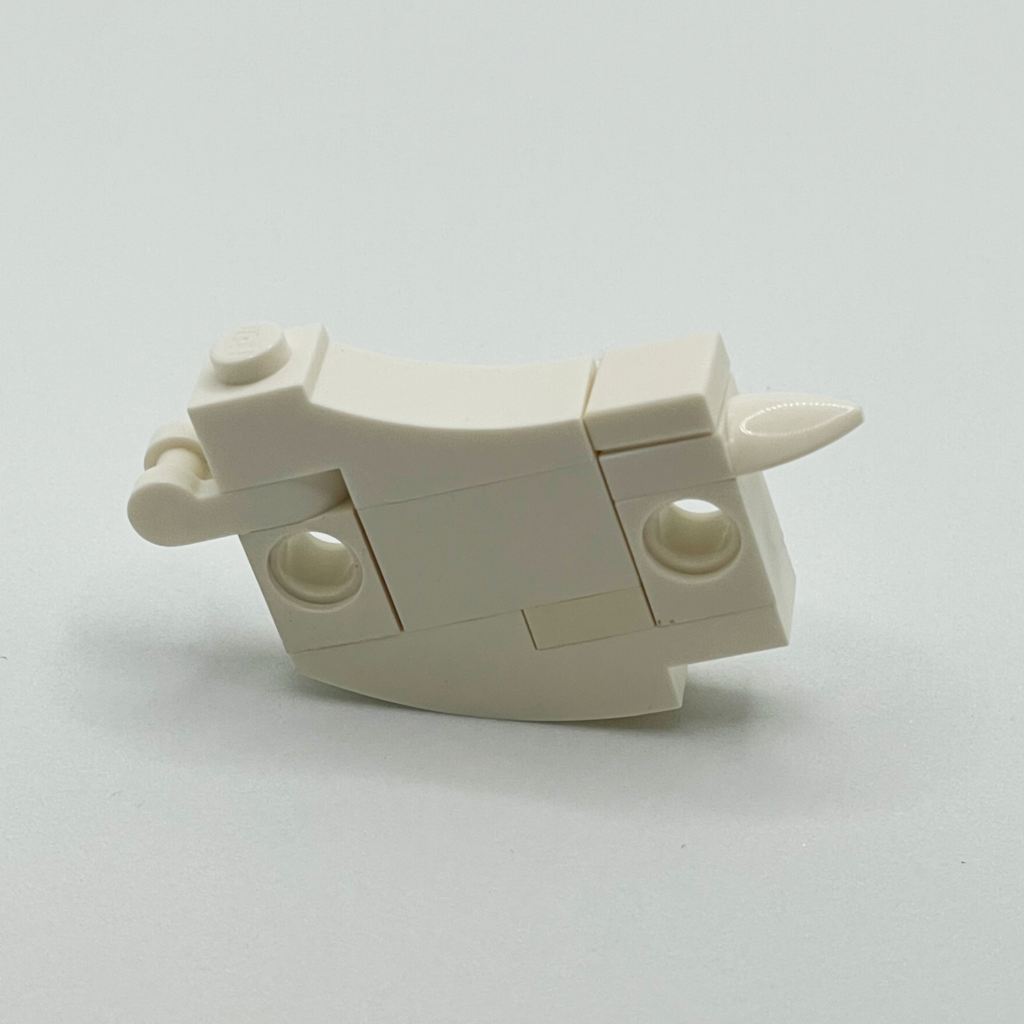
Take a pair of two-studded 1×4 plates and connect them to the holes of the technic brick that is underneath the bar plate. These are the goat’s front legs:
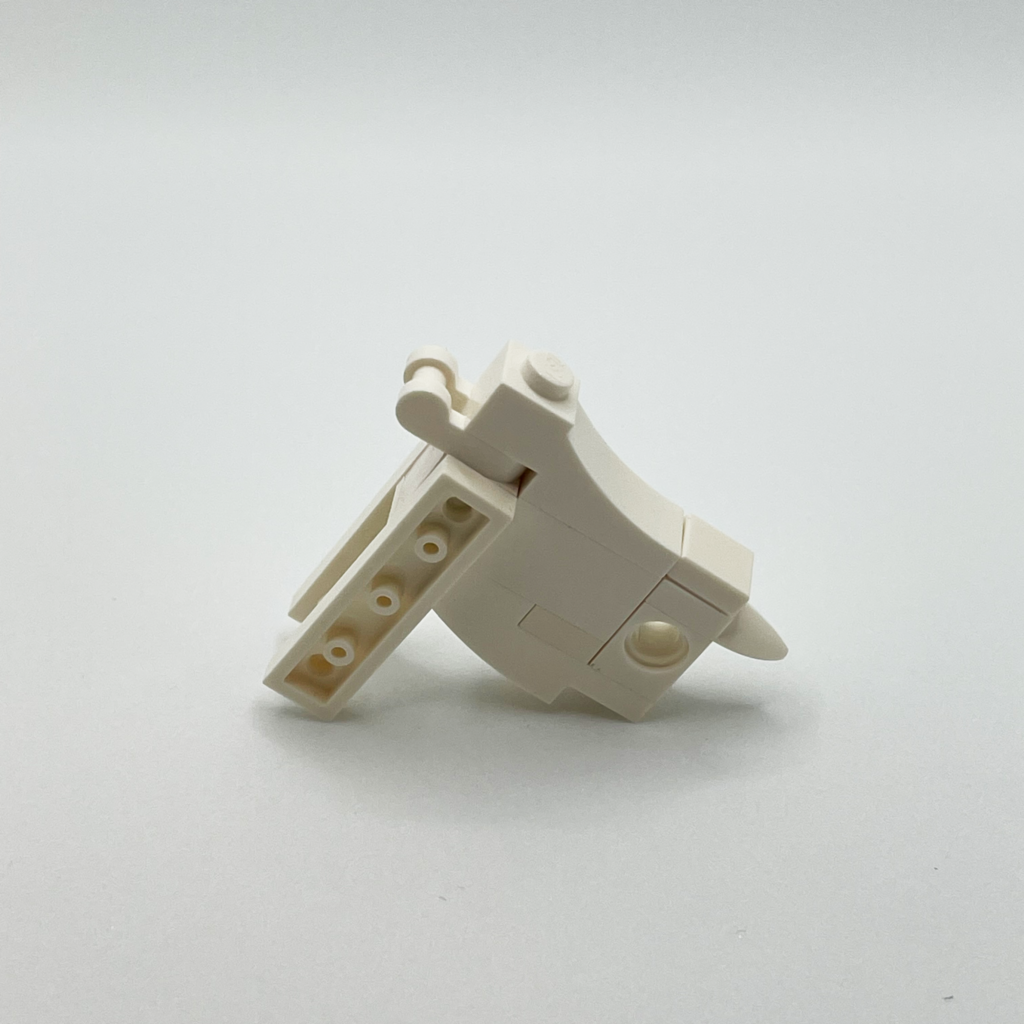
Now take a pair of 1×4 swivel plates and connect them to the holes of the remaining technic brick. These form the goat’s hind legs:
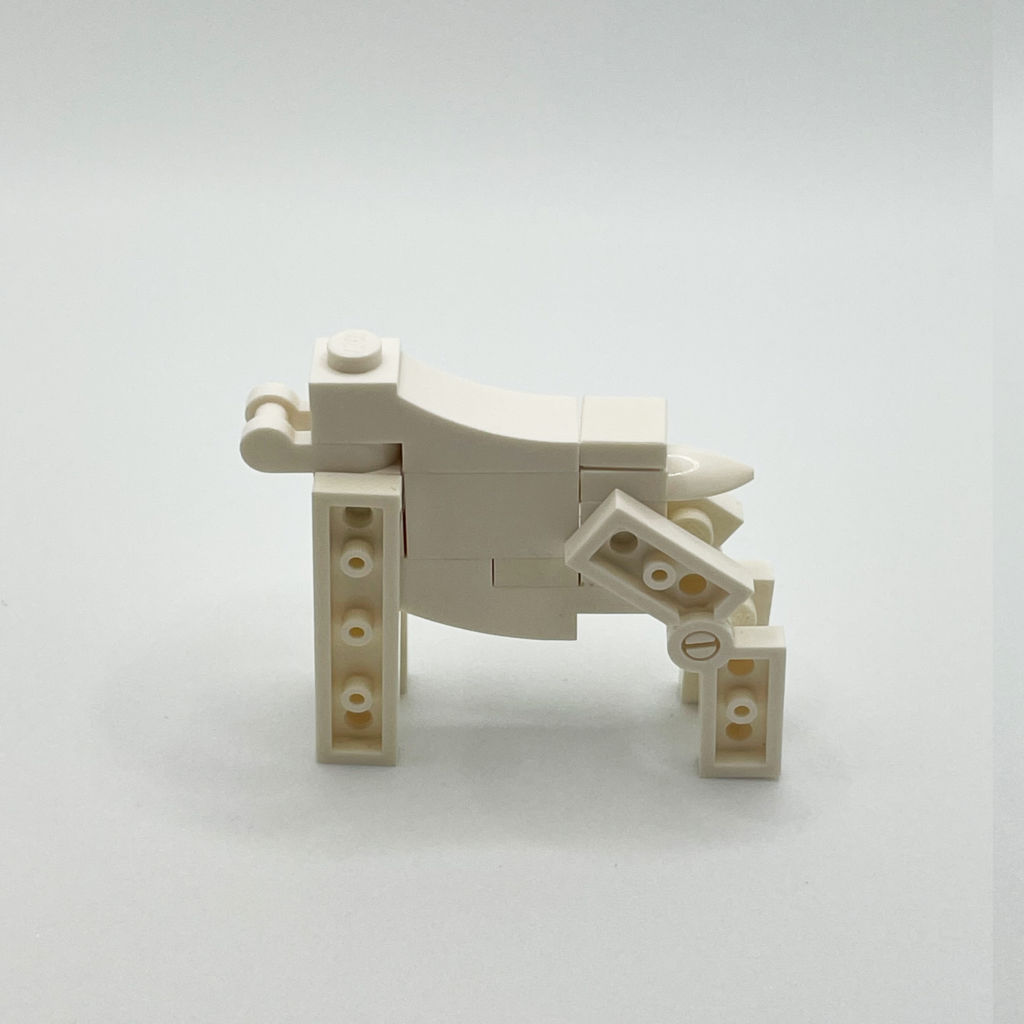
You can now clip the head assemblage to the body assemblage. Congrats on being the proud owner of a new goat!
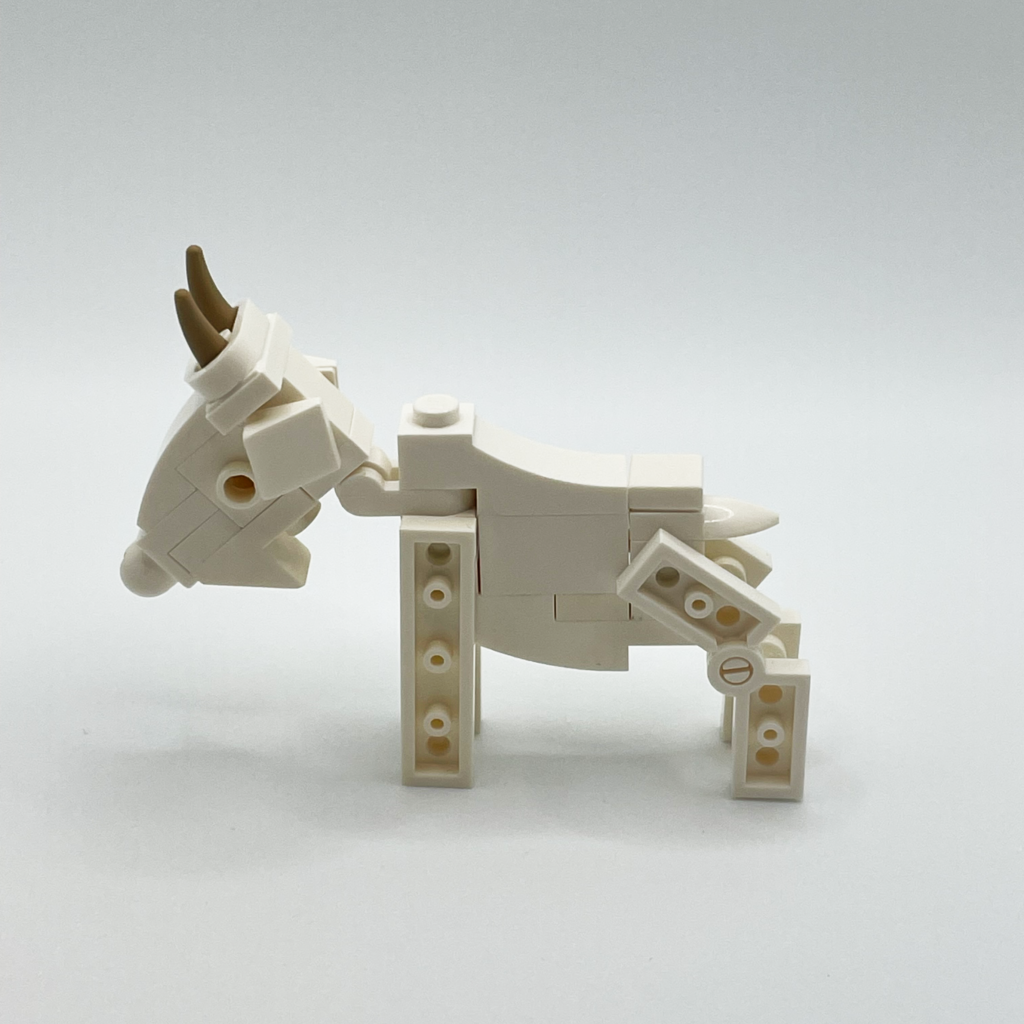
Did you enjoy this build, or do you have a request for me to show how I accomplished a technique from another Historbrick photo? Let me know if the comments below!
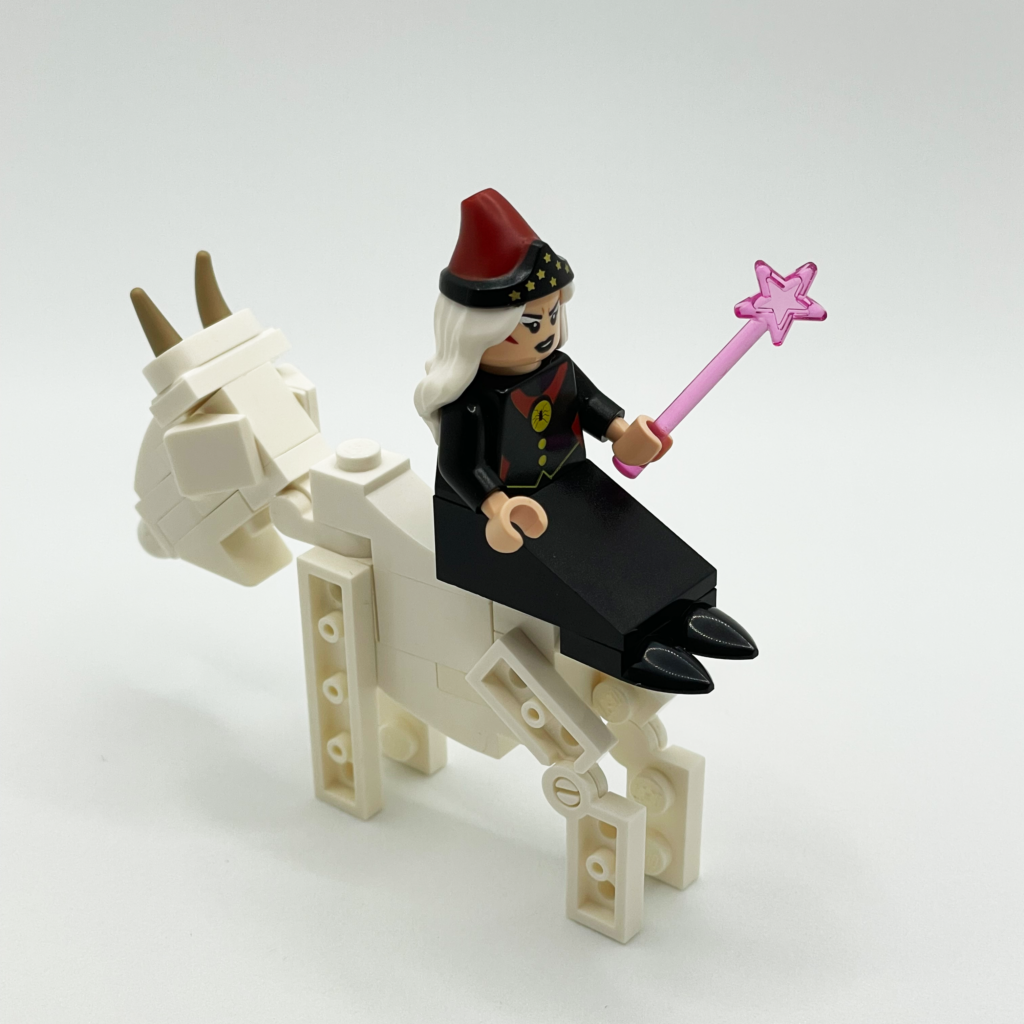
NOTE: If the star-studded cap and magic wand didn’t give it away, the above woman’s status as a witch (!) would have been understood by pre-modern people due to the fact that she is riding backward on a goat–a common motif in the portrayal of witches.


